Step Up Your Bathroom Game: Master Tiling Like a Pro
Tiling a bathroom floor can seem like a daunting task, but with the right tools and techniques, it can be a manageable DIY project. Here’s a step-by-step guide to help you tile your bathroom floor.
Step 1: Measure the Area
The first step in tiling your bathroom floor is to measure the area you want to tile. Measure the length and width of the room and then multiply the two numbers to find the square footage. Buy enough tiles to cover the area and some extra (about 10%) to account for cuts and mistakes.
Step 2: Prepare the Surface
Before you can start tiling, you need to prepare the surface. Remove any old flooring or carpet, and clean the floor thoroughly. Next, inspect the floor for any cracks or damage. If you find any, repair them before you start tiling. Also, ensure that the floor is level by using a spirit level.
Step 3: Lay Out the Tiles
Start by laying out the tiles dry to get an idea of how they will fit in the room. Start at the center of the room and work your way out to the edges. Use spacers to ensure that the tiles are evenly spaced. Cut tiles to fit around the edges of the room using a tile cutter.
Step 4: Mix the Adhesive
Next, mix the adhesive according to the manufacturer’s instructions. Wear gloves and a mask to protect your skin and lungs from the fumes. Mix the adhesive until it has a smooth consistency.
Step 5: Apply the Adhesive
Using a notched trowel, apply the adhesive to the floor, starting at the center of the room. Spread the adhesive evenly over a small area, then comb it with the notched trowel to create ridges. This helps the tile grip onto the adhesive.
Step 6: Lay the Tiles
Next, lay the tiles onto the adhesive, starting at the center of the room and working your way outwards. Press each tile firmly into the adhesive, making sure it is level and evenly spaced. Use tile spacers to ensure that the tiles are evenly spaced. Work in small sections to avoid the adhesive drying out before you can lay the tiles.
Step 7: Cut the Tiles
As you reach the edges of the room, you will need to cut the tiles to fit. Use a tile cutter to cut the tiles to the correct size and shape. Make sure you measure twice and cut once to avoid wasting tiles.
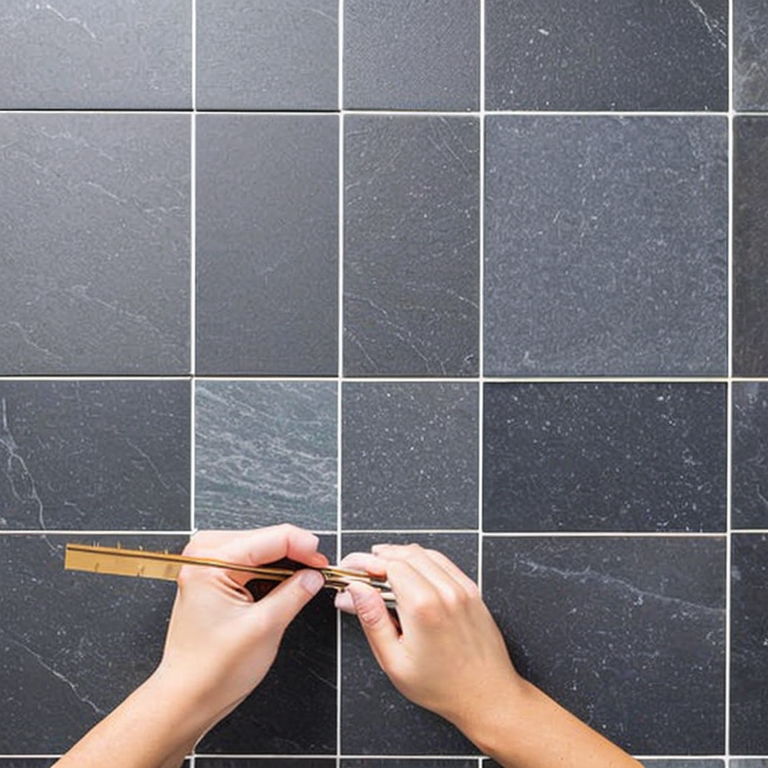
Step 8: Grout the Tiles
Once the tiles are in place and the adhesive has dried, it’s time to grout the tiles. Mix the grout according to the manufacturer’s instructions. Using a rubber float, apply the grout to the tiles, making sure that it fills all the gaps between them. Wipe off any excess grout with a damp sponge.
Step 9: Seal the Grout
After the grout has dried, seal it with a grout sealer to prevent moisture and dirt from penetrating the grout lines.
Congratulations! You have now tiled your bathroom floor. With a little practice, you can become an expert at tiling and take on more challenging projects.
Step-by-Step Guide to Avoid Bathroom Tile Woes
When tiling a bathroom floor, there are several common and uncommon issues that one may come across. Here are some of them along with solutions, tips and advice:
1. Uneven subfloor: This is a common issue that can lead to uneven tiles and a poor finished product. To solve this, make sure to level the subfloor before laying the tiles.
2. Grout haze: Grout haze is a common issue that occurs when excess grout is left on the tiles after installation. To solve this, use a grout haze remover and follow the manufacturer’s instructions.
3. Lippage: Lippage is when the tiles are not level with each other, creating a tripping hazard and an unsightly finished product. To solve this, make sure to use a leveling system and check the tiles frequently during installation.
4. Cracked tiles: Cracked tiles can occur during installation or after the fact. To prevent this, make sure to use quality tiles and follow the manufacturer’s instructions for installation.
5. Mold and mildew: Bathrooms are prone to mold and mildew due to high humidity levels. To prevent this, make sure to use a waterproof membrane under the tiles and use a high-quality grout that is resistant to mold and mildew.
6. Insufficient adhesive: If the adhesive is not applied properly or in the right amount, tiles may come loose over time. To prevent this, make sure to use the correct amount of adhesive and apply it evenly.
7. Color variation: If tiles from different batches are used, there may be slight color variations. To prevent this, make sure to order all of the tiles at the same time and from the same batch.
8. Cutting tiles: Cutting tiles can be difficult, especially if you are not experienced. Make sure to use a wet saw and follow the manufacturer’s instructions.
Overall, tiling a bathroom floor can be a challenging task, but with proper preparation and attention to detail, you can create a beautiful finished product.
Revamp Your Bathroom: Master the Art of Tiling
If the reader is already an expert in tiling a bathroom floor, there are several other tiling projects they can take on to challenge themselves and enhance their tiling skills. Here are a few suggestions:
1. Install a backsplash: Installing a tile backsplash in a kitchen or bathroom can be a fun and challenging project. The key to success is careful planning and precise measurements. Start by selecting the tile you want to use and then measure the area where you want to install the backsplash. Make sure to account for any outlets or other obstacles. Once you have your measurements, use a tile saw to cut the tiles to size and then install them using adhesive and grout.
2. Create a mosaic: Mosaic tiling is a great way to add color and texture to a space. To create a mosaic, start by selecting the tiles you want to use and then sketch out your design on paper. Once you have your design, use a tile saw to cut the tiles to size and then arrange them on a mesh backing. Once you have your design in place, you can then install the mosaic using adhesive and grout.
3. Tile a fireplace: Tiling a fireplace can be a great way to add a touch of elegance and sophistication to your living space. Start by selecting the tile you want to use and then measure the area around the fireplace. Use a tile saw to cut the tiles to size and then install them using adhesive and grout. Make sure to take your time and be careful when cutting the tiles, as this can be a tricky project.
Regardless of what tiling project you take on, remember to always use safety equipment like gloves and eye protection, and take your time to ensure the job is done right.
Tags: Sure
Tweet