Grow a Garden that’ll Make Rain Dance to Your Tune
A rain garden is a beautiful and functional garden that is designed to capture and absorb rainwater runoff from your property. A well-designed rain garden can help reduce the amount of stormwater that enters your local waterways, protect your home from flooding, and create a beautiful garden that attracts pollinators and other beneficial wildlife.
Here are the steps to creating your own rain garden:
1. Choose a location: The first step in creating a rain garden is to choose a location. Ideally, you want to choose a spot on your property where rainwater naturally collects, such as a low-lying area or near a downspout. The location should be at least 10 feet away from your home’s foundation and septic system.
2. Determine the size: The size of your rain garden will depend on the size of your property and the amount of rainfall it receives. A good rule of thumb is to make the garden about 10% the size of the impervious surfaces draining into it. For example, if you have a 2,000 square foot roof, your rain garden should be around 200 square feet.
3. Determine the soil type: The soil in your rain garden should be well-draining and have a high infiltration rate. You can test your soil by digging a hole that is about 12 inches deep and filling it with water. If the water drains away within 24 hours, your soil is well-draining. If not, you may need to amend the soil or choose a different location.
4. Design the garden: Once you have determined the location, size, and soil type, you can start designing your rain garden. The garden should be bowl-shaped with a flat bottom, and the sides should slope downward at a 1:3 ratio. You can also add a berm or raised edge to help contain the water.
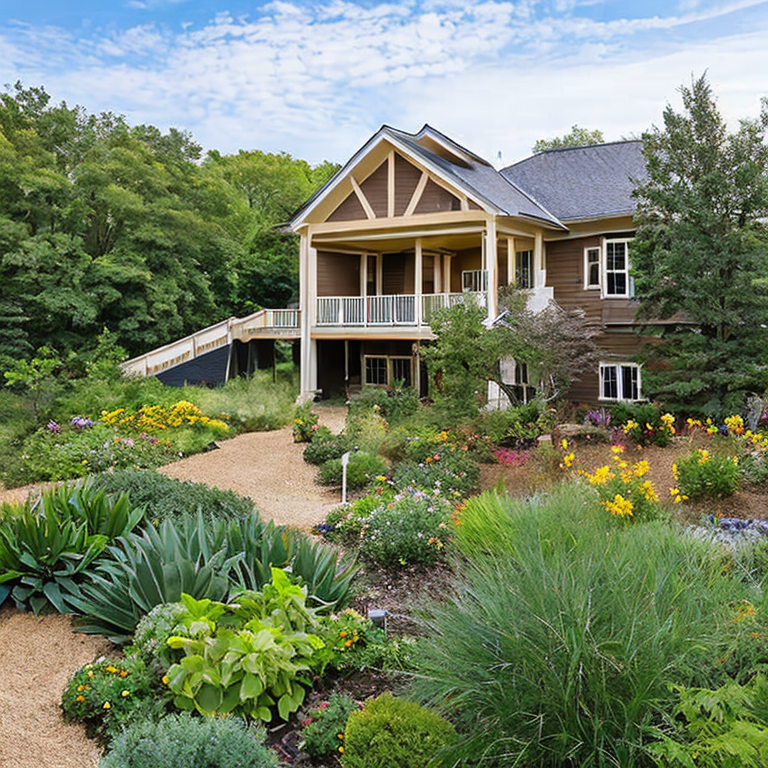
5. Choose plants: Choose plants that are native to your area and can tolerate both wet and dry conditions. Plants with deep roots are especially good at absorbing water. You can choose a mix of grasses, shrubs, and flowers to create a diverse and beautiful garden.
6. Prepare the site: Before you plant, you will need to prepare the site. Remove any grass or weeds from the area, and then dig a hole that is about 6-12 inches deep. If your soil is compacted, you may need to loosen it with a garden fork or tiller. Add a layer of compost to the bottom of the hole to help improve the soil.
7. Plant the garden: Once the site is prepared, you can start planting your rain garden. Start with the larger plants first, such as shrubs and grasses, and then fill in with smaller plants and flowers. Be sure to water the plants thoroughly after planting.
8. Mulch the garden: Finally, add a layer of mulch to the garden to help retain moisture and suppress weeds. You can use wood chips, shredded leaves, or other organic materials.
With these steps, you can create a beautiful and functional rain garden that helps protect your home and the environment. Regular maintenance will help ensure your rain garden continues to thrive and absorb rainwater runoff for years to come.
From Flooded to Fabulous: Navigating Rain Garden Woes
When making a rain garden, there are a few common and uncommon issues that one may come up with. Here are some of them along with solutions, tips, and advice:
1. Poor drainage: If your rain garden has poor drainage, it can lead to standing water, which can attract mosquitoes and other pests. To avoid this, make sure the soil is well-draining, and that the garden is located in an area that doesn’t have standing water.
2. Soil erosion: If your rain garden is located on a slope, soil erosion can be a problem. To prevent this, make sure to plant vegetation that has deep roots, like native grasses and wildflowers. These plants hold onto the soil and prevent it from washing away.
3. Invasive species: Invasive species can quickly take over a rain garden and outcompete native plants. To avoid this, make sure to choose native plants that are well-suited to your climate and soil type. Also, keep an eye out for any invasive species and remove them as soon as possible.
4. Overwatering: While a rain garden is designed to collect water, it’s important not to overwater it. This can lead to the plants becoming waterlogged and drowning. To prevent this, make sure the garden has proper drainage and only water it when necessary.
5. Lack of maintenance: A rain garden requires regular maintenance to keep it healthy and functioning properly. This includes weeding, pruning, and removing any debris that may have accumulated. Make sure to set aside time for regular maintenance to keep your rain garden looking its best.
Overall, a rain garden can be a beautiful and beneficial addition to any landscape. By following these tips and addressing any issues that may arise, you can create a successful rain garden that will provide environmental benefits for years to come.
Transform Your Yard into a Natural Oasis with Rain Gardens
For advanced users who have already mastered the art of making a rain garden, there are several other projects that can be undertaken to further improve water management and conservation on their property.
1. Install a green roof: A green roof is a layer of vegetation planted on top of a waterproof membrane on a roof. It helps to manage stormwater runoff, insulate the building, and provide habitat for wildlife. To install a green roof, you will need to consult with a structural engineer to ensure your roof can support the added weight and work with a horticulturist to select the right plants for your climate and growing conditions.
2. Construct a swale: A swale is a shallow depression in the ground that is designed to capture and slow down stormwater runoff. It is similar to a rain garden, but instead of being planted with vegetation, it is left as an open channel. Swales can be used to direct water to a rain garden or other water storage feature. To construct a swale, you will need to grade the land to create a gentle slope and line the swale with a permeable material, such as gravel or mulch.
3. Install a cistern: A cistern is a container that is used to store rainwater for later use. It can be installed above or below ground and can be used to water plants, flush toilets, or even serve as a backup water supply in case of an emergency. To install a cistern, you will need to consider the size and location of the cistern, as well as the plumbing required to connect it to your home or other water systems.
4. Create a rainwater harvesting system: A rainwater harvesting system is a collection of features that work together to capture, store, and distribute rainwater. It can include a combination of rain barrels, cisterns, and other storage containers, as well as pumps and pipes to transport the water to where it is needed. To create a rainwater harvesting system, you will need to carefully plan out the components and ensure that they are all working together effectively.
Overall, for advanced users who have already mastered the art of making a rain garden, there are several other projects that can be taken on to further improve water management and conservation on their property. It is important to carefully plan out these projects and work with professionals as needed to ensure that they are safe, effective, and sustainable in the long term.
Tags: eco-friendlygardening, environmentalprotection, environmentalsustainability, gardendesign, gardeningtips, greeninfrastructure, greenliving, landscaping, nativeplants, naturaldrainage, outdoorspaces, raingarden, stormwatermanagement, sustainablegardening, urbangardening, waterconservation, waterfiltration, watermanagement, waterquality, waterrunoff
Tweet