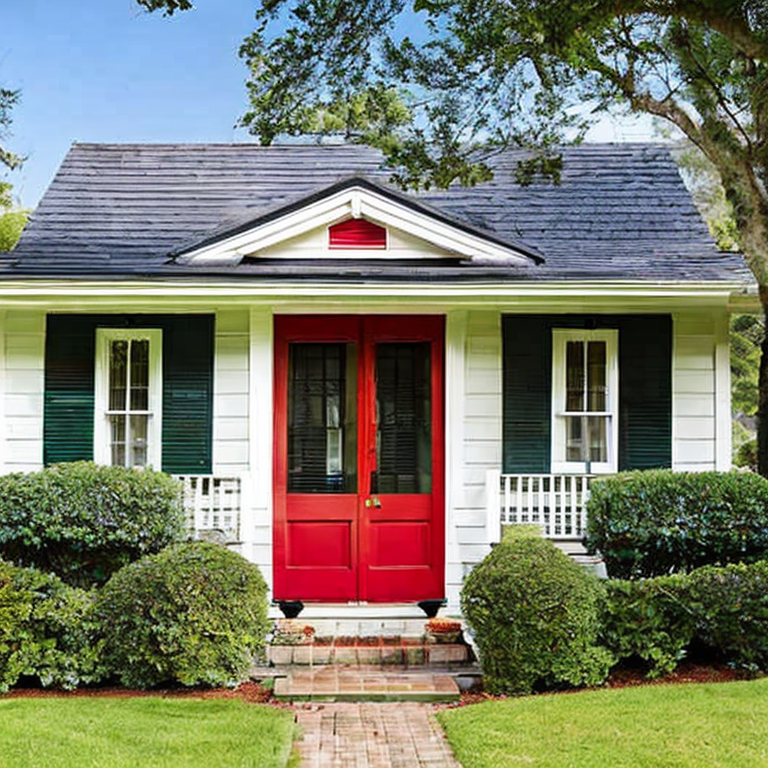
Painting exterior trim is a great way to enhance the appearance of your home and protect it from the elements. Here are the basic steps you will need to follow to paint your exterior trim:
Step 1: Prepare the Area
Before you begin painting, you will need to prepare the area. Clear away any debris or dirt from the trim you’ll be painting. Cover any nearby surfaces or landscaping with plastic sheeting or drop cloths to protect them from paint splatters.
Step 2: Clean the Surface
Next, you will need to clean the surface of the trim you’ll be painting. Use a pressure washer or a garden hose with a high-pressure nozzle to remove any dirt, grime, or loose paint. Allow the surface to dry completely before moving on to the next step.
Step 3: Scrape and Sand
If there is any loose or peeling paint, you will need to scrape it away using a scraper tool. Then, use sandpaper to smooth out any rough spots or uneven areas. This will help the new paint adhere properly to the surface.
Step 4: Prime the Surface
Before you start painting, it’s important to prime the surface. This will help the paint adhere better and last longer. Apply a coat of primer using a brush or a roller, and allow it to dry completely.
Step 5: Paint the Trim
Once the primer has dried, you can start painting. Use a high-quality exterior paint that is appropriate for your climate and the type of trim you’re painting. Apply the paint in thin, even coats using a brush or a roller. Be sure to follow the manufacturer’s instructions for drying times and recoating.
Step 6: Finish Up
Once you’ve applied the final coat of paint, allow it to dry completely before removing any protective coverings. Clean up your tools and dispose of any leftover paint properly.
There you have it – the basic steps for painting exterior trim. By following these steps, you can achieve a professional-looking finish that will protect your home and enhance its curb appeal.
Trimming the Fat: Tackling Exterior Paint Problems
When painting exterior trim, there are several issues that may arise, including:
1. Peeling or cracking paint: This usually occurs due to moisture and/or insufficient surface preparation. To fix this issue, scrape off any loose paint, sand the surface, and apply a coat of primer before painting.
2. Fading or discoloration: This can happen due to exposure to sunlight or the elements. To prevent this, choose high-quality paint that is UV-resistant and formulated for exterior use.
3. Streaks or brush marks: This can occur if the paint is applied unevenly or with the wrong type of brush. To avoid this, use a high-quality brush and apply the paint in thin, even coats.
4. Blistering: This happens when the paint forms bubbles on the surface. It can be caused by trapped moisture, heat, or incompatible coatings. To fix this issue, remove the affected paint, sand the surface, and apply a high-quality primer before repainting.
5. Cracking or splitting: This can occur due to the expansion and contraction of the trim with changes in temperature and humidity. To prevent this, choose a paint that is flexible and can withstand these changes.
Here are some tips and advice to help you paint exterior trim successfully:
1. Choose the right paint: Make sure to choose paint that is specifically formulated for exterior use and is suitable for the type of surface you are painting.
2. Clean and prepare the surface: Before painting, make sure to clean the surface thoroughly and remove any loose or peeling paint. Sand the surface to create a smooth, even surface for painting.
3. Use quality tools: Invest in high-quality brushes, rollers, and other painting tools to ensure a professional-looking finish.
4. Apply multiple thin coats: Instead of applying one thick coat of paint, apply multiple thin coats to achieve a smooth, even finish.
5. Allow sufficient drying time: Make sure to allow each coat of paint to dry completely before applying the next coat.
6. Protect surrounding areas: Use painter’s tape to protect surrounding areas, such as windows and doors, from getting paint on them.
By following these tips and taking the necessary precautions, you can ensure a successful exterior trim painting project.
Revamp Your Home’s Curb Appeal with Trim Painting Mastery
Great question! Here are some advanced painting projects that an experienced painter could take on:
1. Painting a multicolored accent wall: An accent wall can add an interesting pop of color to any room. To paint a multicolored accent wall, choose two or three colors that complement each other and alternate painting stripes or geometric shapes on the wall. Use painter’s tape to create clean lines between the colors.
2. Painting cabinets: Painting cabinets can completely transform the look of a kitchen or bathroom. To paint cabinets, first remove all hardware and clean the surfaces thoroughly. Sand the cabinets lightly to create a rough surface for the paint to adhere to, and then apply a primer. Once the primer is dry, apply two coats of paint, allowing each coat to dry completely before applying the next.
3. Textured painting: Textured painting is a great way to add depth and interest to any wall. There are many techniques to create texture, such as using a sponge, brush, or roller. Experiment with different techniques and tools to create unique textures and patterns.
4. Painting a mural: For the ultimate creative challenge, consider painting a mural. A mural can be anything from a simple design to a complex scene. First, sketch out your design on paper. Then, transfer the design to the wall using a projector or a grid system. Paint the mural in sections, starting with the background and working your way forward.
Remember to always use high-quality paint and tools for the best results. And don’t forget to protect your work area and wear appropriate safety gear. Good luck with your advanced painting projects!
Tags: brush, caulking, DIY, doors, eaves, exterior, fascia, homeimprovement, paint, painting, preparation, priming, roller, sanding, scraping, soffit, trim, weather-resistant, windows, wood
Tweet