Jammin’ in the Kitchen: Your DIY Guide
Sure, I’d love to help you become an expert on making homemade jam! Here’s a step-by-step guide on how to make homemade jam:
1. Choose the fruit: The first step in making homemade jam is to choose the fruit you want to use. You can use any fruit you like, but some of the most popular options are strawberries, raspberries, blueberries, blackberries, peaches, and apricots. Choose fruit that is ripe, but not overripe.
2. Prepare the fruit: Once you have chosen your fruit, wash it thoroughly and remove any stems, leaves, or pits. If you’re using berries, you don’t need to chop them, but if you’re using larger fruits like peaches or apricots, you should chop them into small pieces.
3. Add sugar: Next, you’ll need to add sugar to your fruit. The amount of sugar you need will depend on the type of fruit you’re using and how sweet you want your jam to be. As a general rule, you’ll need about 1 cup of sugar for every 2 cups of fruit. However, some fruits like strawberries and raspberries require less sugar than others.
4. Cook the fruit: Place the fruit and sugar in a large pot or saucepan and heat over medium-high heat. Stir the mixture constantly until the sugar dissolves and the fruit begins to break down. As the fruit cooks, it will release its natural juices, which will help thicken the jam.
5. Test for doneness: After about 10-15 minutes of cooking, your jam should start to thicken. To test if it’s ready, place a small amount of jam on a plate and let it cool for a few seconds. If it’s thick and doesn’t run, it’s done. If it’s still runny, continue cooking for a few more minutes and test again.
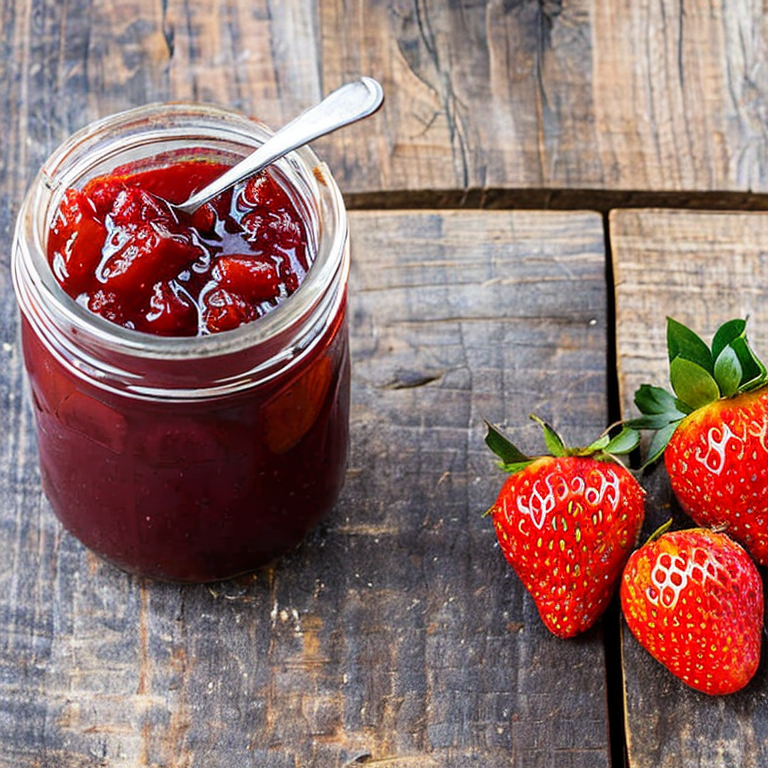
6. Can the jam: Once your jam is done, ladle it into clean, sterilized jars. Leave about 1/4 inch of headspace at the top of each jar. Wipe the rims of the jars clean with a damp cloth, then place the lids on top and screw on the bands.
7. Process the jars: To seal the jars, you’ll need to process them in a water bath. Place the jars in a large pot of boiling water, making sure they are fully submerged. Boil for 10-15 minutes, then carefully remove the jars from the water and let them cool on a towel.
Congratulations, you’ve just made homemade jam! Once the jars are cool, you can store them in a cool, dark place for up to a year. Enjoy your delicious homemade jam on toast, scones, or use it as a topping for ice cream.
Jam-making blues: Avoid these common pitfalls
There are several issues that one may encounter when making homemade jam. Here are some of the most common and uncommon ones, along with tips and solutions to help you out:
1. Jam won’t set: This is a common issue that can happen if the mixture is not cooked long enough or if the pectin levels are not high enough. To fix this, you can add more pectin or return the mixture to the stove and cook it for a longer period of time.
2. Jam is too runny: This can happen if there is too much liquid in the mixture or if the fruit was not cooked down enough. To fix this, you can add more pectin or return the mixture to the stove and cook it for a longer period of time.
3. Jam is too sweet: This can happen if too much sugar was added to the mixture. To fix this, you can add more fruit or lemon juice to balance out the sweetness.
4. Jam is too tart: This can happen if not enough sugar was added or if the fruit used was too tart. To fix this, you can add more sugar or sweeten the mixture with honey or agave nectar.
5. Mold or yeast growth: This is an uncommon issue that can happen if the jars or utensils used were not properly sanitized or if the jam was not cooked long enough. To prevent this, make sure to properly sanitize all utensils and jars before use, and cook the jam for the recommended amount of time.
6. Overcooked jam: This can happen if the mixture is left on the stove for too long. To fix this, you can add a small amount of water or fruit juice to the mixture to thin it out.
7. Undercooked jam: This can happen if the mixture is not cooked long enough. To fix this, return the mixture to the stove and cook it for a longer period of time.
Tips and advice:
– Use a candy thermometer to ensure the mixture reaches the correct temperature.
– Use high-quality, fresh fruit for the best flavor and texture.
– Use the recommended amount of pectin for the type of fruit being used.
– Sanitize all utensils and jars before use to prevent mold or yeast growth.
– Follow the recipe closely and don’t make substitutions unless you are comfortable with the chemistry of making jam.
Jamming like a pro: Level up your homemade spread game
If you are an advanced user in making homemade jam, there are several other projects you can try to expand your culinary skills. Here are a few ideas:
1. Fruit Syrups: Fruit syrups are a great way to add flavor to your drinks and desserts. To make a fruit syrup, combine sugar, water, and your favorite fruits in a saucepan. Cook the mixture until the sugar dissolves and the fruit breaks down. Strain the mixture and store it in a bottle.
2. Fruit Leather: Fruit leather is a healthy snack that is easy to make. Puree your favorite fruits and spread the mixture on a baking sheet lined with parchment paper. Bake the mixture at a low temperature until it is dry and pliable. Cut the fruit leather into strips and store them in an airtight container.
3. Preserved Lemons: Preserved lemons are a staple in North African and Middle Eastern cuisine. To make preserved lemons, cut lemons into quarters and pack them into a jar with salt and spices. Cover the jar and let the lemons sit for a few weeks until they are soft and flavorful.
4. Canned Vegetables: If you have a garden, you can preserve your vegetables by canning them. Canning involves packing vegetables into jars and processing them in a hot water bath or pressure canner. This method can be used for a variety of vegetables, including tomatoes, green beans, and pickles.
As an advanced user, it is important to always follow safe canning techniques and recipes for your projects. Make sure to use proper equipment, follow the correct processing times, and store your finished products in a cool, dry place. Happy experimenting!
Tags: artisanal, breakfast, brunch, canning, cooking, dessert, DIY, farm-to-table, fruit, fruitpicking, homemadegift, homemadejam, jelly, organic, preserves, recipe, seasonal, snack, spread, summer
Tweet