Unleash Your Inner Decorator: The Ultimate Wallpaper Hanging Guide
Hanging wallpaper can be a fun and rewarding DIY project that can transform the look of a room. Here are the basic steps on how to hang wallpaper:
1. Prepare the surface: Before hanging wallpaper, make sure the surface is clean, smooth, and free of any cracks or holes. If necessary, fill in any imperfections with spackling paste and sand the surface down until it’s smooth. If the walls have been previously painted, wash them with a mild detergent and water to remove any dirt or grease.
2. Measure the wall: Measure the height and width of the wall you want to wallpaper. Add a few extra inches to the height and width to allow for trimming and matching patterns.
3. Purchase wallpaper: Choose a wallpaper pattern that complements the room’s decor and purchase enough rolls to cover the entire wall. Make sure the wallpaper is the correct type for your wall’s surface, as some wallpapers are designed for specific surfaces.
4. Cut the wallpaper: Lay out the wallpaper on a flat surface and cut it to the correct length, leaving a few extra inches at the top and bottom for trimming. Use a straight edge and a utility knife to make a clean cut.
5. Apply adhesive: Apply wallpaper adhesive to the back of the wallpaper with a paint roller or brush. Be sure to follow the manufacturer’s instructions for mixing and applying the adhesive.
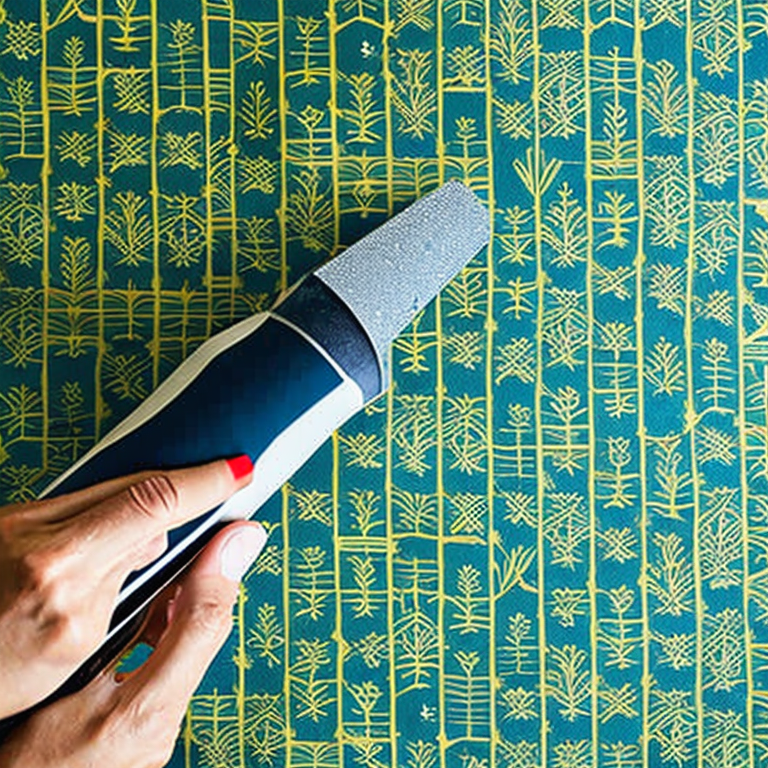
6. Hang the wallpaper: Starting at the top of the wall, carefully position the wallpaper against the wall and smooth out any wrinkles or air bubbles with a wallpaper brush or squeegee. Continue hanging the wallpaper in sections, making sure to match the pattern and overlap the edges slightly.
7. Trim the edges: Once the wallpaper is hung, use a sharp utility knife to trim the excess wallpaper at the top and bottom of the wall. Be careful not to cut into the wall.
8. Smooth out the seams: Use a wallpaper seam roller to smooth out any visible seams or overlaps between the wallpaper strips.
9. Finish the edges: Use a wallpaper smoothing tool or a putty knife to gently press the wallpaper into the corners and edges of the wall, creating a smooth finish.
10. Clean up: Once the wallpaper is hung, clean up any excess adhesive with a damp sponge or cloth. Allow the wallpaper to dry completely before hanging any pictures or decorations.
With these steps, you should be able to hang wallpaper like a pro! Just remember to take your time and follow the manufacturer’s instructions, and you’ll have a beautifully wallpapered room in no time.
Wallpaper Woes: How to Avoid Common Hang-Ups
Hanging wallpaper can be a fun and exciting way to transform a room, but it can also be a little tricky. Here are some common and uncommon issues that you may come up with when hanging wallpaper, along with some solutions, tips, and advice:
1. Uneven walls: If your walls are not perfectly smooth and even, it can be difficult to get your wallpaper to lay flat. You can address this issue by using a wallpaper liner or by applying a skim coat of joint compound to the walls before hanging the wallpaper.
2. Air bubbles: Air bubbles can be a frustrating issue when hanging wallpaper. To avoid them, make sure that you smooth the wallpaper out as you go, using a smoothing tool or a wallpaper brush. If you do end up with bubbles, you can use a small pin to prick them and then smooth the wallpaper back down.
3. Misaligned patterns: If you are working with a patterned wallpaper, it can be easy to misalign the pattern as you hang each strip. To avoid this, make sure that you line up the pattern carefully before you start hanging each strip. You can also mark the top of each strip with a pencil to make sure that you are hanging them in the correct order.
4. Wrinkles: Wrinkles in your wallpaper can be caused by a variety of issues, such as uneven smoothing or too much adhesive. To avoid wrinkles, make sure that you use the right amount of adhesive and that you smooth out each strip carefully as you hang it. If you do end up with wrinkles, you can try using a hair dryer to gently heat and smooth out the wallpaper.
5. Peeling or curling edges: If your wallpaper starts to peel or curl at the edges, it is usually a sign that it is not sticking properly. This can happen if you haven’t applied enough adhesive or if the adhesive has dried out. To fix this issue, you can try applying more adhesive or using a wallpaper seam roller to press the edges down.
6. Uncommon issues: Some less common issues that you may come across when hanging wallpaper include issues with the wallpaper itself, such as ink bleeding or color fading. To avoid these issues, make sure that you choose a high-quality wallpaper and follow the manufacturer’s instructions carefully.
Overall, the key to successfully hanging wallpaper is to take your time, follow the instructions carefully, and be patient. With a little bit of practice, you can create a beautiful and unique look for any room in your home.
Transform Your Walls with These Expert Wallpapering Tips
For advanced users who are already experts in hanging wallpaper, there are several other DIY projects that they can try out. Here are a few suggestions:
1. Create a wallpaper accent wall: Instead of wallpapering an entire room, create an accent wall using a bold patterned wallpaper. This will add texture and depth to the room, creating a focal point.
2. Wallpaper a ceiling: For a unique and eye-catching look, consider wallpapering a ceiling. This works particularly well in small rooms, adding interest and making the space feel larger.
3. Create a wallpaper headboard: Instead of buying a traditional headboard, create a unique one using wallpaper. Simply cut a piece of plywood to the size and shape of your desired headboard, then cover it with wallpaper and attach it to the wall behind your bed.
4. Wallpaper furniture: Give an old piece of furniture a new lease of life by covering it with wallpaper. This works particularly well on smaller items such as side tables, bookshelves, and dressers.
When embarking on any of these projects, it’s important to remember a few key tips:
– Choose high-quality wallpaper that is durable and easy to work with.
– Always measure and cut carefully to ensure a perfect fit.
– Use a good quality wallpaper paste and follow the manufacturer’s instructions carefully.
– Take your time and work carefully to avoid bubbles and wrinkles in the wallpaper.
– If you’re unsure about any aspect of the project, don’t hesitate to seek advice from a professional or experienced DIYer.
Tags: hangingwallpaper, prepastedwallpaper, wallpaperadhesive, wallpaperbubbles, wallpapercalculator, wallpapercutting, wallpaperdesigns, wallpaperhanging, wallpaperinstallation, wallpapermeasurements, wallpaperpaste, wallpaperpatterns, wallpaperremoval, wallpaperrolls, wallpaperseams, wallpapersmoothing, wallpaperstyles, wallpapertools, wallpaperingtechniques., wallpaperingtips
Tweet