Stitch Up a Dream: Crafting Your Own Quilt
Quilting is a wonderful hobby that involves sewing together layers of fabric to create a warm and cozy blanket. If you have never quilted before, it may seem like a daunting task, but with a little bit of patience and practice, you can create beautiful and functional quilts.
Here are the basic steps to making a quilt:
1. Choose your fabrics: The first step in making a quilt is selecting the fabrics you want to use. You can either choose a pre-made fabric bundle or select your own fabrics from a fabric store. Make sure to choose fabrics that coordinate well together and are appropriate for the intended use of the quilt.
2. Cut the fabric: Once you have your fabrics, the next step is to cut them into the desired shapes and sizes. A rotary cutter and cutting mat are essential tools for this step. You will need to cut your fabrics into squares, rectangles, or other shapes, depending on the quilt pattern you are using.
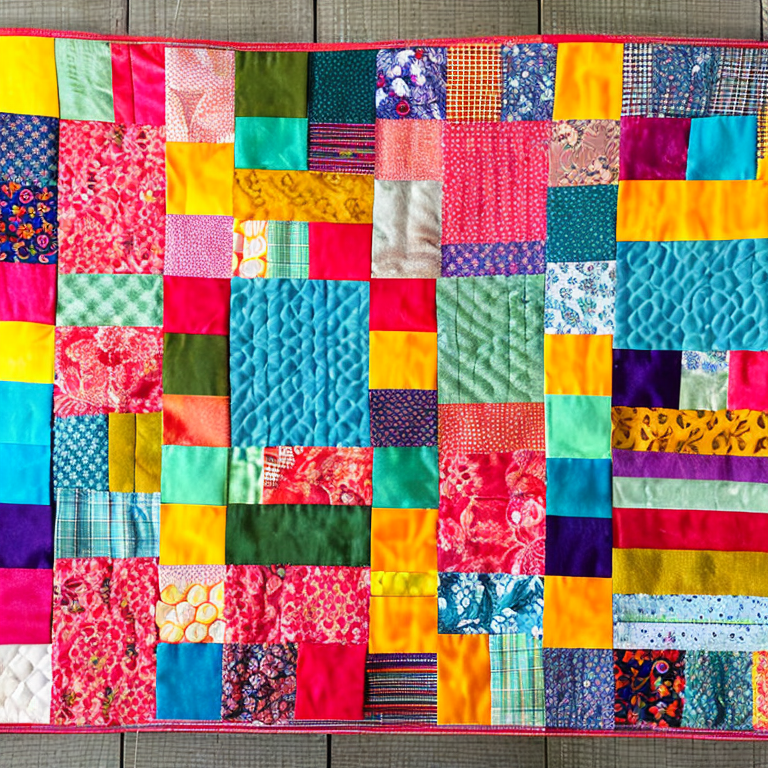
3. Piece the fabric: Once your fabrics are cut, you can start piecing them together. This involves sewing the individual pieces of fabric together to create the quilt top. You can use a sewing machine or sew by hand, depending on your preference.
4. Add batting: The next step is to add batting to the quilt. Batting is the layer of material that provides warmth and insulation. You can purchase batting at a fabric store, and it is available in a variety of thicknesses and materials.
5. Sew the layers together: Once the batting is in place, you will need to sew the layers of the quilt together. This is called quilting. You can either hand quilt or use a sewing machine to do this step. You will need to use quilting thread, which is thicker than regular sewing thread, and a quilting needle.
6. Add binding: The final step is to add binding to the edges of the quilt. This is a strip of fabric that covers the raw edges of the quilt and creates a finished look. You can purchase pre-made binding or make your own by cutting strips of fabric and sewing them together.
These are the basic steps to making a quilt. Of course, there are many variations and techniques that you can use to create different styles and patterns. With practice and experimentation, you can become an expert quilter and create beautiful and unique quilts.
Quilting Woes: Tackling the Top Troubles
Making a quilt can be a fun and rewarding experience, but there are some common and uncommon issues that can arise during the process. Here are some tips and advice for dealing with these issues:
Common Issues:
1. Uneven seams: One of the most common issues when making a quilt is having uneven seams. This can happen if you don’t pay close attention to your seam allowances or if you don’t use a consistent seam allowance throughout the quilt. Make sure to use a ruler or seam guide to keep your seams straight and consistent.
2. Fabric puckering: Another common issue is fabric puckering, which happens when the fabric is not properly laid out or stretched. To avoid this, make sure to press your fabric before cutting and piecing, and use a walking foot when quilting to keep the layers from shifting.
3. Binding issues: Binding can be tricky, especially if you’re new to quilting. Make sure to use a binding strip that is wide enough (2.5 inches is a good size) and to sew it on with a consistent seam allowance. You can also use binding clips to hold the binding in place while you sew.
Uncommon Issues:
1. Fabric bleeding: Sometimes, certain fabrics can bleed or run when washed, which can ruin your quilt. To avoid this, make sure to prewash your fabric before cutting and piecing, and use a color catcher sheet in the washing machine when washing the finished quilt.
2. Stretching: Quilting involves a lot of stretching and pulling of fabric, which can cause distortion if you’re not careful. To avoid stretching, make sure to handle your fabric gently and use a rotary cutter and mat to cut your pieces accurately.
3. Wavy borders: If your quilt borders are wavy or don’t lie flat, it can be frustrating. This can happen if you don’t measure your borders accurately or if you don’t pin them in place before sewing. To avoid this, measure your borders carefully and pin them in place before sewing.
Overall, the key to avoiding issues when making a quilt is to take your time, be patient, and pay attention to the details. Quilting can be a fun and rewarding hobby, and with a little practice and patience, you can create beautiful and functional quilts that will last for years to come.
Stitch Up a Masterpiece: The Ultimate Quilting Guide
For advanced quilters, there are many challenging and exciting projects to undertake. Here are some project ideas and tips to help you take your quilting skills to the next level:
1. Art Quilting – Art quilting is a great way to explore your creativity and express your ideas through quilting. You can use a variety of techniques such as applique, embroidery, painting, and beadwork to create unique and beautiful designs. You can also create abstract designs or realistic images.
2. Landscape Quilting – Landscape quilting is a technique that involves creating a quilt that depicts a landscape or scene. This can be done using a variety of techniques such as applique, piecing, and embroidery. You can create a quilt that depicts a beautiful sunset, a mountain range, or a beach scene.
3. Quilted Clothing – Quilted clothing is a great way to combine your love of quilting with your love of fashion. You can create a unique jacket, vest, or even a skirt using quilted fabric. Quilted clothing is not only fashionable, but it is also warm and comfortable.
4. Quilted Home Decor – Quilted home decor is a great way to add a touch of warmth and beauty to your home. You can create quilted pillows, table runners, placemats, and wall hangings. You can use a variety of techniques such as applique, embroidery, and piecing to create designs that will complement your home’s decor.
5. Quilted Accessories – Quilted accessories are a great way to add a touch of personality to your everyday items. You can create quilted bags, purses, and even phone cases using a variety of techniques such as applique, embroidery, and piecing.
Tips for Advanced Quilters:
1. Use high-quality materials – When you are an advanced quilter, you want to make sure that you are using high-quality materials. This will ensure that your quilts look beautiful and last for a long time.
2. Experiment with new techniques – Don’t be afraid to try new techniques and experiment with different materials. This will help you to develop your skills and create unique designs.
3. Take your time – Advanced quilting projects can take a lot of time and patience. Take your time and enjoy the process of creating something beautiful.
4. Share your work – Don’t be afraid to share your work with others. Join a quilting group or enter your work into a competition. This will help you to get feedback and improve your skills.
Tags: art, bedspread, blanket, crafts, Creativity, design, DIY, fabric, handmade, handmadegifts, hobby, homedecor, howto, patchwork, pattern, quilt, quilting, sewing, stitching, tutorial
Tweet