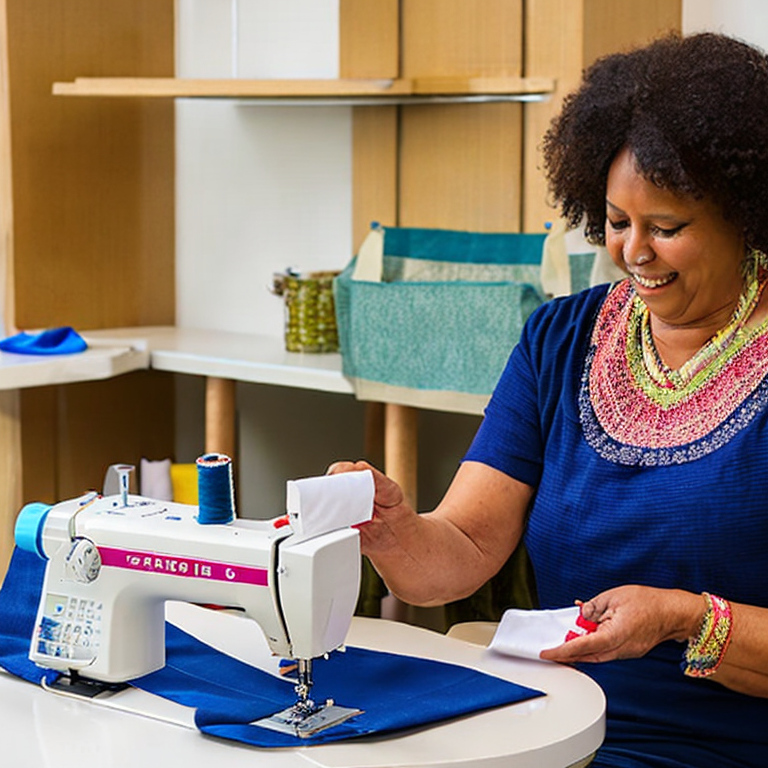
Sew like a pro: Mastering the art of the sewing machine
Sure, I’d be happy to explain how to use a sewing machine, step-by-step.
Step 1: Prepare your sewing machine
Before you begin using your sewing machine, ensure that it is properly set up. Place your machine on a sturdy, level surface and plug it in. If your machine requires oiling, follow the manufacturer’s instructions to lubricate the machine.
Step 2: Familiarize yourself with the machine
Before turning on the machine, it’s important to familiarize yourself with its parts. You’ll need to know where the needle, bobbin, presser foot, and stitch selector are located. Locate the machine’s manual if you are unsure how to do this.
Step 3: Wind the bobbin
The bobbin is a small spool of thread that fits inside the sewing machine’s bobbin case. Before you begin sewing, you’ll need to wind the bobbin. Place the thread spool on the spool pin and thread the bobbin according to the manufacturer’s instructions. Once the bobbin is wound, place it inside the bobbin case.
Step 4: Thread the machine
To thread the sewing machine, first, raise the needle to its highest position by turning the handwheel. Then, follow the thread path from the spool through the guides and tension discs, and finally through the needle. Be sure to consult the manual to ensure that you are threading the machine correctly.
Step 5: Select a stitch
Sewing machines come with a variety of stitches, including straight, zigzag, and decorative stitches. Select the stitch you want to use by turning the stitch selector dial.
Step 6: Adjust the tension
The tension of the machine should be set according to the type of fabric you are using. Consult your manual to determine the correct tension setting.
Step 7: Practice sewing
Before you begin sewing your project, practice on a scrap piece of fabric. Place the fabric under the presser foot and lower the presser foot lever. Begin sewing slowly, guiding the fabric with your hands. Keep an eye on the stitching to ensure that it is even and the tension is correct.
Step 8: Finish your project
Once you’ve finished sewing your project, cut the thread and remove the fabric from under the presser foot. If necessary, trim any loose threads and press the fabric with an iron.
In summary, using a sewing machine requires preparation, familiarization with the machine’s parts, winding the bobbin, threading the machine, selecting a stitch, adjusting the tension, practicing sewing on scrap fabric, and finally, finishing your project. With practice and patience, you can become an expert at using a sewing machine.
Stitching Woes: The Common Struggles of Sewing Machines
Some common issues that people may face when using a sewing machine include:
1. The thread keeps breaking: This can be caused by using the wrong type of thread, a dull needle or incorrect tension. To solve this issue, use the correct type of thread, replace the needle with a new one, and adjust the tension according to the manufacturer’s instructions.
2. The machine is skipping stitches: This can happen when the needle is not inserted properly, the needle is dull, or the fabric is too thick. To fix this issue, make sure the needle is inserted correctly, replace the needle if it’s dull, and use a thinner fabric or a larger needle for thicker fabrics.
3. The fabric is puckering: This can be caused by incorrect tension or using the wrong type of needle. To solve this issue, adjust the tension and use the correct type of needle for the fabric you are using.
4. The machine is making a strange noise: This can be caused by a number of issues such as a loose screw, a broken part or a tangled thread. To fix this issue, check for any loose screws or broken parts and replace them if necessary. Also, make sure the thread is properly threaded and not tangled.
Some uncommon issues that may arise include:
1. The machine is not sewing straight: This can be caused by a bent needle, a misaligned presser foot or incorrect tension. To solve this issue, replace the needle if it’s bent, adjust the presser foot to make sure it’s aligned properly and adjust the tension.
2. The thread is shredding: This can be caused by using the wrong type of needle or thread, a dull needle or incorrect tension. To fix this issue, use the correct type of needle and thread, replace the needle if it’s dull and adjust the tension.
3. The fabric is getting stuck in the feed dogs: This can be caused by a dirty machine or incorrect presser foot pressure. To solve this issue, clean the machine and adjust the presser foot pressure according to the manufacturer’s instructions.
Tips and advice:
1. Always use the correct type of needle and thread for the fabric you are using.
2. Make sure the machine is properly threaded and the tension is adjusted correctly.
3. Clean the machine regularly to prevent any issues from arising.
4. Replace the needle regularly to ensure it’s sharp and not dull.
5. Check the machine for any loose screws or broken parts before use.
6. Take your time and be patient, sewing requires practice and skill.
Stitch like a pro: Mastering advanced sewing machine techniques
Great! If the reader is already an advanced user of a sewing machine, here are some project ideas they can try:
1. Tailoring – Advanced sewers can take on more complex tailoring projects, such as suit jackets or fitted dresses. They can experiment with different fabrics, linings and interfacings to create a tailored look that fits perfectly.
2. Leatherwork – Leather is a durable, versatile material that can be used to create a range of items, from bags and wallets to belts and shoes. Advanced sewers can learn how to work with leather, including cutting, stitching and finishing techniques.
3. quilting – quilting is a traditional sewing technique that involves piecing together fabric to create a quilt. Advanced sewers can experiment with different patterns and techniques, such as applique, embroidery and free-motion quilting.
4. Home decor – Advanced sewers can create custom home decor items, such as curtains, tablecloths, cushion covers and even lampshades. They can use their sewing skills to add decorative touches, such as piping, tassels or embroidery.
5. Costuming – If the advanced sewer is interested in cosplay or theatrical costuming, they can use their sewing skills to create elaborate costumes. They can experiment with different fabrics, embellishments and techniques to bring their vision to life.
Advice for advanced sewers:
1. Keep learning – There is always something new to learn in sewing, so keep exploring new techniques, fabrics and patterns. Attend workshops, take online courses and read sewing blogs to stay up-to-date on the latest trends and innovations.
2. Invest in quality tools and materials – Advanced sewers should invest in high-quality sewing machines, tools and materials to get the best results. Quality tools and materials will last longer and produce better results than cheaper alternatives.
3. Take your time – Advanced sewing projects can be time-consuming and require a lot of patience. Take your time and enjoy the process, rather than rushing to finish the project.
4. Share your knowledge – If you have friends or family who are interested in sewing, share your knowledge and skills with them. Teach them new techniques and help them improve their sewing skills.
Tags: beginner'sguide, bobbin, fabric, hem, howtouse, maintenance, needle, presserfoot, projectideas., reversestitch, safetytips, seam, sewingmachine, sewingspeed, stitchlength, stitchwidth, stitching, tension, thread, troubleshooting
Tweet