DIY Nectar Bar: A Step-by-Step Guide
Sure, I’d be happy to help you make a hummingbird feeder from scratch!
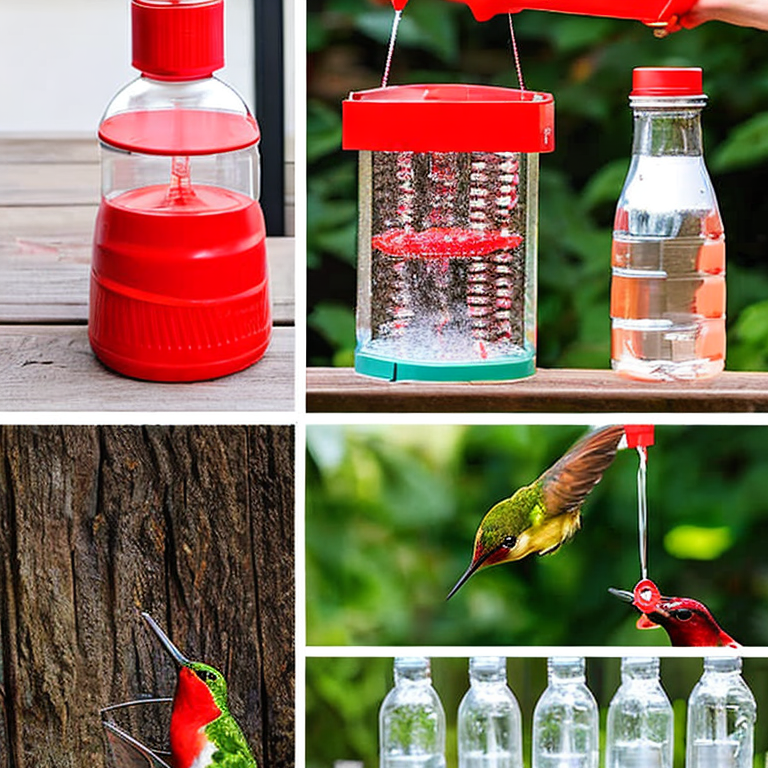
Before we begin, it’s important to note that hummingbirds are attracted to the color red, so we’ll be incorporating that into our design. Also, hummingbirds are very active and need to consume a lot of nectar, so we’ll be making a feeder that can hold a decent amount of liquid.
Here’s what you’ll need:
– A plastic bottle or container with a lid (preferably clear)
– Red electrical tape or red spray paint
– Sugar
– Water
– A drill or a knife
– A hummingbird feeder base (can be purchased at a garden store or online)
Step 1: Prep the Container
The first step is to prep the container you’ll be using as your feeder. We recommend using a clear plastic bottle or container with a lid. This will allow you to see when it’s time to refill the nectar.
If your container isn’t already red, you can use red electrical tape or red spray paint to cover it. Simply wrap the electrical tape around the container or spray paint it red (making sure to follow the instructions on the can).
Step 2: Create the Nectar
Hummingbirds love nectar made from sugar and water. To create the nectar, mix 1 part sugar with 4 parts water in a pot. Bring the mixture to a boil, stirring constantly, until the sugar has dissolved. Remove the pot from the heat and let it cool.
Step 3: Create a Hole in the Container
Next, you’ll need to create a hole in the container for the hummingbirds to access the nectar. You can use a drill or a knife to create a small hole near the bottom of the container. The hole should be just big enough to fit the hummingbird feeder base.
Step 4: Attach the Feeder Base
Insert the hummingbird feeder base into the hole you created in the container. Make sure it’s securely in place.
Step 5: Add the Nectar
Pour the nectar you created earlier into the container. Be careful not to overfill it, as the nectar may spill out of the feeder.
Step 6: Hang the Feeder
Finally, it’s time to hang up your hummingbird feeder! We recommend placing it in a shaded area, as direct sunlight can cause the nectar to spoil quickly. You can use a hook or a piece of string to hang the feeder.
Congratulations, you’ve made your very own hummingbird feeder! Now sit back, relax, and enjoy watching these beautiful birds sip from your creation. Don’t forget to clean and refill the feeder regularly to keep the nectar fresh and to attract more hummingbirds to your yard.
Buzz Off! A Troubleshooting Guide for Hummingbird Feeders
Some common issues that may arise when making a hummingbird feeder include:
1. Leaking: If your feeder is leaking, try tightening the base or replacing the gaskets. You can also try adjusting the position of the feeder to ensure it is level.
2. Mold and Mildew: Hummingbird feeders can quickly develop mold and mildew, especially in hot and humid climates. To prevent this, clean your feeder with hot soapy water every few days and rinse thoroughly.
3. Bees and Wasps: Bees and wasps can be attracted to the sweet nectar in your feeder. To deter them, consider using a feeder with bee guards or placing the feeder in a shaded area away from their nesting sites.
4. Ants: Ants can be a nuisance for hummingbirds by crawling into the nectar. To prevent this, use an ant moat or a feeder with an ant trap.
5. Fermentation: When the nectar in your feeder ferments, it can become toxic to hummingbirds. To prevent this, change the nectar every few days and clean the feeder thoroughly.
Some less common issues that may arise when making a hummingbird feeder include:
1. Air bubbles: If air bubbles are forming in your feeder, it may be due to a leak or an issue with the vacuum seal. Try tightening the base or replacing the gaskets.
2. Cloudy Nectar: If your nectar is cloudy, it may be due to the presence of bacteria or mold. Change the nectar and clean the feeder thoroughly.
3. Poorly designed feeder: Some feeders may not be designed to attract hummingbirds or may be difficult for them to feed from. Consider investing in a feeder with a red color and perches for hummingbirds to rest on while feeding.
4. Wrong type of nectar: Hummingbirds need a nectar solution that is four parts water to one part sugar. Using a different ratio or adding other ingredients such as honey or artificial sweeteners can be harmful to the birds.
In general, it is important to regularly clean and maintain your hummingbird feeder to ensure the health and safety of the birds. Additionally, placing multiple feeders in different locations can help reduce competition among hummingbirds and increase their chances of finding the feeder.
Sip in Style: Crafting an Advanced Hummingbird Feeder
Great! Since the reader already knows how to make a hummingbird feeder, here are some other advanced projects they can try:
1. Hummingbird House: A hummingbird house is a small shelter that provides a safe place for hummingbirds to rest and nest. To make a hummingbird house, you will need to use materials such as wood, wire mesh, and natural fibers to create a small, cozy shelter. Make sure to research the best materials and design for your specific region and type of hummingbird.
2. Hummingbird garden: Creating a hummingbird garden is a fun and rewarding project for advanced users. You can choose specific plants that attract hummingbirds, such as trumpet vine, bee balm, and salvia. Make sure to research which plants are best for your location and climate. You can also add features like a small fountain or bird bath to create a welcoming environment for hummingbirds and other wildlife.
3. Hummingbird Photography: For advanced users with a passion for photography, capturing stunning images of hummingbirds can be a challenging and exciting project. To get the best shots, you will need a high-quality camera and lens, as well as a good understanding of lighting, composition, and patience. Make sure to research the best techniques and equipment for hummingbird photography.
4. Hummingbird Education: If you are passionate about hummingbirds, you can use your expertise to educate others about these fascinating creatures. You can create educational materials, give talks or presentations, or even lead hummingbird watching tours in your local area. Make sure to research the best resources and information to share with others.
Remember, no matter what project you choose, always prioritize the safety and well-being of the hummingbirds. Make sure to research and follow best practices for attracting, feeding, and caring for these delicate creatures.
Tags: attract, backyard, craft, DIY, easy, eco-friendly, feeder, garden, green, homemade, hummingbird, nature, nectar, recipe, recycledmaterials, sugarwater, sustainability, tutorial, upcycling, Wildlife
Tweet