Toilet Troubles? Here’s How to Keep the Drips at Bay!
A leaky toilet can be a frustrating problem in any household. It not only wastes water but can also lead to a higher water bill. However, fixing a leaky toilet is not as difficult as it may seem. This guide will take you through the steps to fix a leaky toilet and help you become an expert on the topic.
Step 1: Identify the problem
The first step in fixing a leaky toilet is to identify the problem. There are several reasons why a toilet might leak, including a faulty flush valve, a worn-out flapper, or a damaged fill valve. Check the toilet for visible signs of damage, such as cracks in the tank or bowl, or water pooling around the base. If you can’t see any obvious signs of damage, you’ll need to do some troubleshooting to find the source of the leak.
Step 2: Turn off the water supply
Before you start working on the toilet, you need to turn off the water supply. Look for the shut-off valve behind the toilet and turn it clockwise until it stops. This will shut off the water supply and prevent any more water from entering the tank.
Step 3: Drain the tank
Next, you need to drain the tank. Flush the toilet to remove as much water as possible. If the water level is still too high, use a plunger to force the water down the drain. Once the tank is empty, use a sponge or towel to soak up any remaining water.
Step 4: Replace the flush valve
The flush valve is responsible for releasing water from the tank into the bowl when you flush. If the flush valve is faulty, it can cause the toilet to leak. To replace the flush valve, remove the tank lid and disconnect the water supply line. Unscrew the flush valve from the bottom of the tank and replace it with a new one. Be sure to tighten the bolts securely.
Step 5: Replace the flapper
The flapper is a rubber valve that sits at the bottom of the tank and controls the flow of water into the bowl. If the flapper is worn out or damaged, it can cause the toilet to leak. To replace the flapper, turn off the water supply and drain the tank as described above. Remove the old flapper and replace it with a new one. Be sure to adjust the chain so that the flapper sits correctly over the drain.
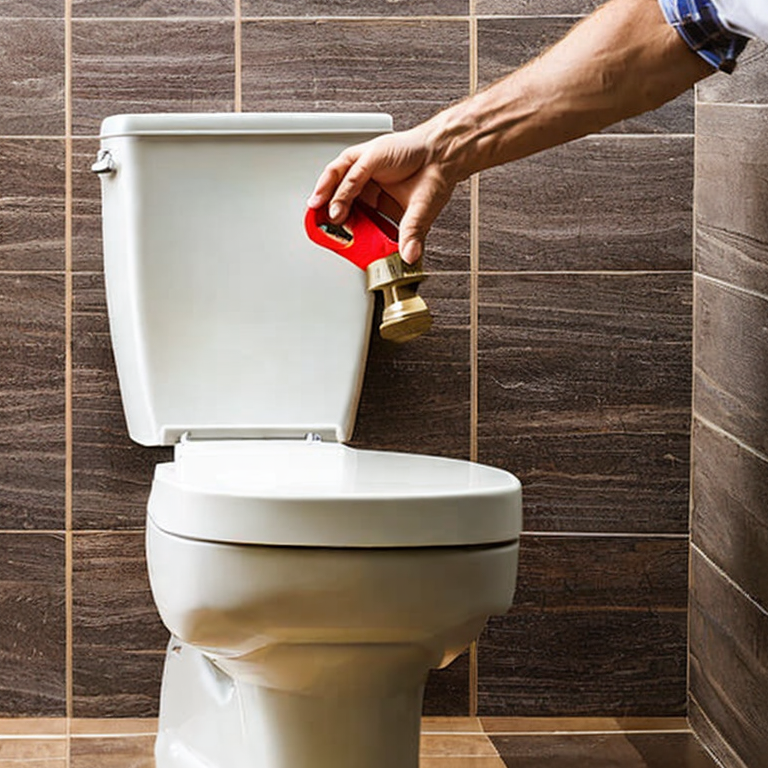
Step 6: Replace the fill valve
The fill valve is responsible for refilling the tank after you flush. If the fill valve is damaged or worn out, it can cause the toilet to leak. To replace the fill valve, turn off the water supply and drain the tank. Disconnect the water supply line from the bottom of the tank and remove the old fill valve. Replace it with a new one and reconnect the water supply line.
Step 7: Test the toilet
Once you’ve replaced the faulty parts, turn the water supply back on and fill the tank. Check for any leaks around the base of the toilet or at the connections between the tank and bowl. If everything looks good, flush the toilet a few times and check for leaks again.
In conclusion, fixing a leaky toilet may seem daunting, but it’s a simple process that anyone can do. By following the steps above, you can identify the problem and replace any faulty parts, saving money on your water bill and preventing further damage to your toilet.
Flushing out the truth: A plumber’s guide to leaky toilets
One of the most common issues with a leaky toilet is a faulty flapper valve. This is the rubber piece that covers the flush valve and holds water in the tank. When the valve is damaged or worn out, water can leak out of the tank. To fix this issue, you can replace the flapper valve with a new one. Be sure to turn off the water supply to the toilet before removing the old valve and installing the new one.
Another common issue is a loose or damaged fill valve. This is the mechanism that controls the flow of water into the tank. If the valve is loose or damaged, water may leak out of the tank or the toilet may not fill up properly. To fix this issue, you can tighten the valve if it’s loose or replace it if it’s damaged.
A less common issue is a cracked tank or bowl. If you notice water leaking from the base of the toilet or see cracks in the tank or bowl, it’s time to replace the toilet altogether. This is a more complicated and expensive fix, but it’s necessary to prevent further damage to your bathroom.
Some tips and advice for fixing a leaky toilet include:
– Turn off the water supply to the toilet before attempting any repairs
– Use a towel or sponge to soak up any water in the tank or bowl before working on the toilet
– Follow the manufacturer’s instructions when replacing parts or installing a new toilet
– Consider hiring a professional plumber if you’re unsure about how to fix the issue or if you’re dealing with a more complicated problem.
Stop Flushing Your Money Down the Drain – Fix That Leaky Toilet
For advanced users who are already experts in fixing a leaky toilet, here are some additional plumbing projects you could take on:
1. Replace a faucet: Replacing a faucet can be a bit more challenging than fixing a leaky toilet, but it’s still a manageable project for those with plumbing experience. Begin by turning off the water supply, then use a wrench to remove the old faucet. Install the new faucet, following the manufacturer’s instructions, and turn the water back on to test the new fixture.
2. Install a water filtration system: If you’re looking to improve the quality of your home’s drinking water, consider installing a water filtration system. This project involves connecting the system to your home’s plumbing and may require some advanced skills, such as soldering pipes or installing a new shut-off valve.
3. Replace a showerhead: Upgrading your showerhead can be a simple way to improve your daily shower experience. To replace an old showerhead, begin by turning off the water supply. Then, use pliers to remove the old showerhead and install the new one, making sure to use plumber’s tape to prevent leaks.
4. Install a garbage disposal: If you’re looking to add convenience to your kitchen, consider installing a garbage disposal. This project involves connecting the disposal to your home’s plumbing and electrical systems, so it’s important to follow the manufacturer’s instructions carefully.
Remember, even if you’re an expert in fixing a leaky toilet, always prioritize safety and follow proper plumbing procedures when taking on new projects.
Tags: bathroom, cistern, DIY, fix, flapper, flush, gasket, homeimprovement, leakytoilet, overflow, plumber, plumbing, toiletmaintenance, toiletrepair, toilettank, toolkit, valve, waterconservation, waterleak, waxring
Tweet
Hey there! Great article on fixing a leaky toilet! I’ve actually dealt with this issue before and found your tips to be really helpful. It’s always frustrating when you hear that constant dripping sound, right?
I totally agree with your suggestion to start by checking the flapper valve. It’s often the culprit behind a leaky toilet, and it’s a relatively easy fix. I also appreciate your advice on adjusting the water level in the tank. I never realized that could be a potential cause of leaks.
One thing I would add is that sometimes the problem might not be as straightforward as a faulty flapper valve. In my experience, I’ve also had to check the fill valve and the wax ring seal. It’s good to have a comprehensive approach when troubleshooting these issues, just to make sure we don’t miss anything.
Overall, I think you provided some practical and easy-to-follow steps for fixing a leaky toilet. Thanks for sharing your knowledge and helping us save money on plumber bills! Keep up the great work!