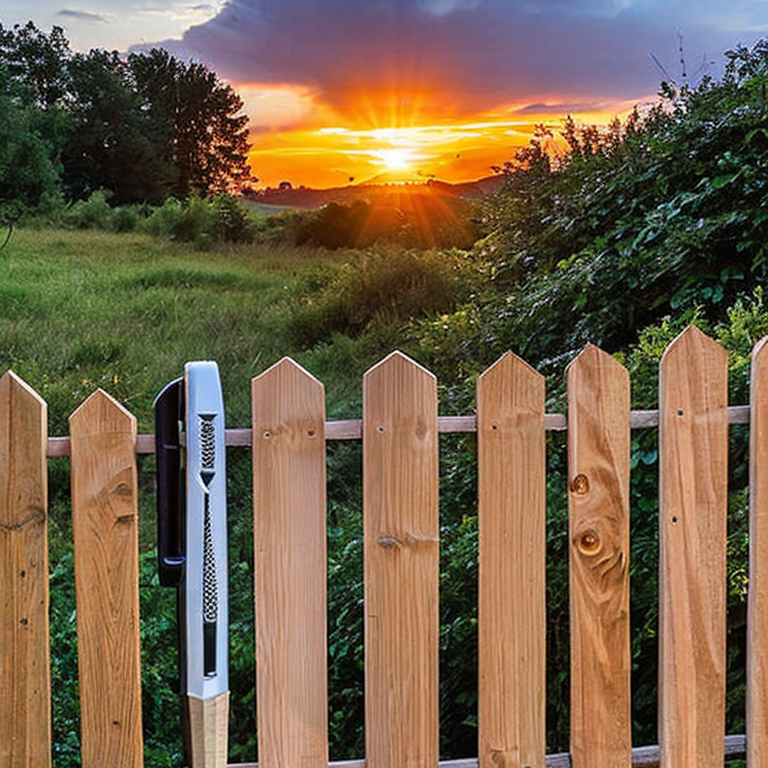
Unleash the Beauty of Your Wood Fence: A Staining Guide
Staining a wood fence is a great way to enhance the look of your property and also protect the wood from the elements. If you have a new fence, you need to wait for at least two to three weeks before staining it to allow the wood to dry out. Here are the steps to follow to stain your wood fence:
Step 1: Prepare the Fence
Before staining your fence, you need to clean it thoroughly to remove any dirt, debris, or mold that might have accumulated over time. Start by removing any loose debris using a stiff brush or broom. Then, use a power washer or a garden hose to rinse off the fence. You can also use a wood cleaner to remove any stubborn stains or discoloration. Once you are done cleaning, let the fence dry completely for at least 24 hours.
Step 2: Choose the Right Stain
Choosing the right stain is crucial to the success of your project. There are two types of stains: oil-based and water-based. Oil-based stains are more durable and provide better protection against the elements. On the other hand, water-based stains are easier to clean up and dry faster. Consider the weather conditions in your area and the amount of maintenance you are willing to put into your fence when choosing a stain.
Step 3: Apply the Stain
Once the fence is dry, you can start staining. Make sure to choose a time when the weather is dry, and there is no rain in the forecast for at least 24 hours. Start by stirring the stain thoroughly to ensure an even color. Then, using a brush, roller, or sprayer, apply the stain to the wood in long, even strokes. Make sure to work in small sections and avoid overlapping. If you notice any drips or runs, wipe them off immediately using a clean cloth.
Step 4: Allow the Stain to Dry
After applying the stain, allow it to dry completely according to the manufacturer’s instructions. This could take anywhere from 24 hours to several days, depending on the type of stain you used and the weather conditions. Make sure to keep children and pets away from the fence during this time.
Step 5: Apply a Second Coat (Optional)
If you want a darker or richer color, you can apply a second coat of stain once the first coat is completely dry. Make sure to follow the same application process as before, working in small sections and avoiding overlapping.
In conclusion, staining a wood fence is a relatively easy and cost-effective way to enhance the look of your property and protect the wood from the elements. By following these simple steps, you can achieve a beautiful and long-lasting finish that will make your fence look like new for years to come.
Staining Your Wood Fence? Avoid These Headaches
Staining a wood fence is an excellent way to protect it from the elements, enhance its natural beauty and extend its lifespan. However, there are several issues that can arise when staining a wood fence, some of which are common, and some of which are uncommon. Below are some of the most common and uncommon issues you may face when staining a wood fence and tips on how to solve them.
1. Uneven Stain Coverage: One of the most common issues is uneven stain coverage. This is when the stain appears darker in some areas and lighter in others. The main cause of this is applying too much stain in some areas and too little in others. To solve this issue, make sure to apply the stain evenly and in thin coats. Use a brush or a roller to spread the stain evenly on the wood.
2. Stain Drying Too Quickly: Another common problem is the stain drying too quickly. This can happen when you apply the stain in direct sunlight or in hot weather. When the stain dries too quickly, it can leave unsightly streaks or lap marks. To solve this problem, apply the stain in cooler weather or when the sun is not shining directly on the fence. You can also add a stain extender to slow down the drying process.
3. Stain Not Drying: Sometimes, the stain may not dry at all, even after several days. This can happen when the wood is too damp or when the stain is applied too thickly. To solve this issue, make sure the wood is completely dry before applying the stain. If the stain is too thick, wipe off the excess with a clean cloth or brush.
4. Stain Fading or Peeling: Over time, the stain may fade or peel due to exposure to the elements. This can happen when the stain is not applied properly or when a low-quality stain is used. To prevent this, make sure to choose a high-quality stain that is specifically designed for outdoor use. Also, make sure to apply the stain according to the manufacturer’s instructions.
5. Bleeding Knots: An uncommon issue that may arise is bleeding knots. This is when the knots in the wood release tannins, which can cause the stain to darken or discolor around the knots. To prevent this, use a knot sealer before applying the stain. This will prevent the tannins from bleeding into the stain.
In summary, staining a wood fence can be a great way to enhance its natural beauty and extend its lifespan. Make sure to follow the manufacturer’s instructions and take the necessary precautions to prevent common and uncommon issues. With proper care and maintenance, your wood fence will look great for years to come.
Unleash the Beauty of Your Wood Fence with Staining
If the reader is already an expert in staining a wood fence, there are several other projects that can be pursued to enhance the beauty and functionality of their outdoor space. Here are a few suggestions:
1. Build a deck: A wooden deck can provide an excellent gathering space for family and friends. It can be built in a variety of shapes and sizes and can be stained or painted to match the style of the home. To build a deck, one must first choose the right materials and design the deck to ensure its stability.
2. Install a pergola: A pergola can provide a shaded area for outdoor dining or relaxation. It can be built using wood or metal and can be stained or painted to match the decor of the home. To install a pergola, one must first choose the right location and design the structure to ensure its stability.
3. Construct a retaining wall: A retaining wall can help to prevent soil erosion and create a level area for gardening or outdoor activities. It can be built using a variety of materials, such as stone or wood, and can be stained or painted to match the style of the home. To construct a retaining wall, one must first choose the right materials and design the wall to ensure its stability.
4. Create a garden bed: A garden bed can provide a beautiful space for growing flowers, vegetables, or herbs. It can be built using wood or stone and can be stained or painted to match the style of the home. To create a garden bed, one must first choose the right location and design the bed to ensure proper drainage.
In addition to these projects, there are many other outdoor projects that can be pursued by advanced DIYers. It is important to remember to always wear safety gear, such as gloves and safety glasses, and to follow all manufacturer instructions when using power tools or other equipment.
Tags: DIYfencestaining, fencecare, fencemaintenance, fencemakeover., fencepreservation, fenceprotection, fencerefinishing, fencerestoration, fencestainingtips, outdoormaintenance, outdoorrenovation, stain, staining, woodcare, woodfence, woodmaintenance, woodpreservation, woodprotection, woodrefinishing, woodrestoration
Tweet