Breathing Easy: Master the Art of Air Filter Replacement
Title: The Complete Guide to Replacing Air Filters: From Basics to Expert Level
Introduction:
Having clean and well-maintained air filters in our homes is crucial for maintaining good indoor air quality. Air filters help remove dust, pollen, mold spores, pet dander, and other airborne particles, ensuring that the air we breathe is fresh and healthy. In this comprehensive guide, we will walk you through the process of replacing air filters, starting from the basics and gradually expanding to expert level knowledge. So, let’s dive right in!
Section 1: Understanding the Importance of Air Filters
1.1 What are air filters?
– Air filters are devices designed to remove airborne particles from the air circulating in your HVAC (Heating, Ventilation, and Air Conditioning) system.
– They are typically made of pleated paper or synthetic fibers, providing a barrier that captures and holds particles.
1.2 Why are air filters important?
– Air filters improve indoor air quality by trapping dust, allergens, and other pollutants.
– They prevent these particles from accumulating on HVAC components, reducing strain on the system and improving efficiency.
– Clean air filters can also help lower energy costs and extend the lifespan of your HVAC system.
Section 2: Identifying the Right Air Filter
2.1 Types of air filters:
– Fiberglass filters: Basic filters that capture larger particles but may not be as effective against smaller particles.
– Pleated filters: More efficient filters that capture a wider range of particles due to their larger surface area.
– High-efficiency filters: Advanced filters capable of capturing even smaller particles, including bacteria and viruses.
2.2 Understanding MERV ratings:
– Minimum Efficiency Reporting Value (MERV) ratings indicate the effectiveness of an air filter in capturing particles.
– The higher the MERV rating, the more efficient the filter is in trapping smaller particles.
– Choose an air filter with a MERV rating appropriate for your needs and HVAC system requirements.
Section 3: Basic Air Filter Replacement
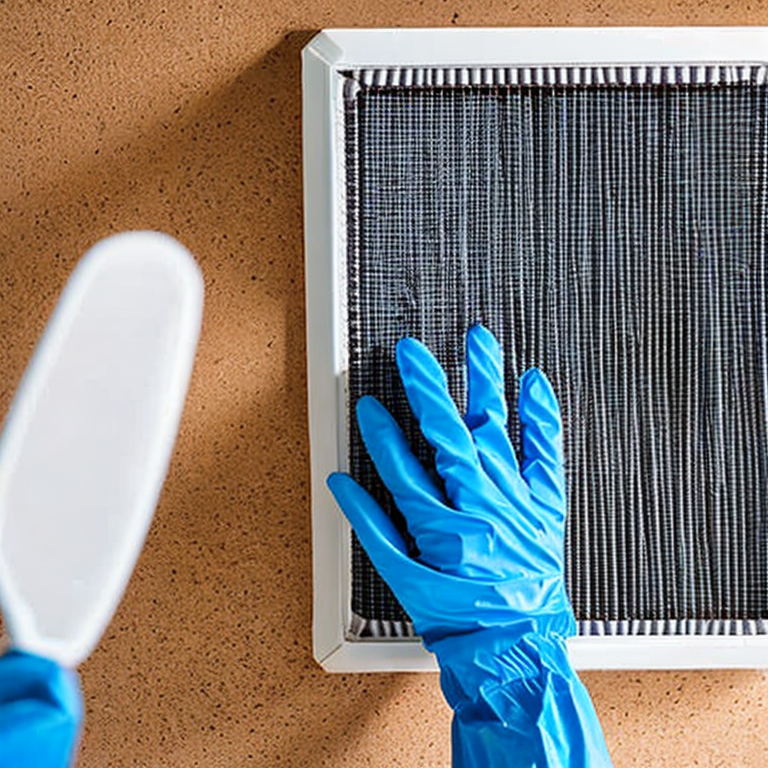
3.1 Safety precautions:
– Turn off your HVAC system before replacing the air filter to prevent any mishaps.
– Wear gloves and a mask to protect yourself from dust and debris.
3.2 Locating the air filter:
– Air filters are typically found in your HVAC system’s return air ducts or in the air handler unit.
– Consult your HVAC system’s user manual or seek professional advice if you’re unsure.
3.3 Removing the old air filter:
– Carefully slide out the old air filter from its housing.
– Pay attention to the direction of airflow indicated on the filter frame for proper installation.
3.4 Installing the new air filter:
– Align the new air filter with the arrows indicating the direction of airflow.
– Slide the filter into the housing, ensuring a snug fit.
Section 4: Advanced Air Filter Replacement Techniques
4.1 Filter upgrades:
– Consider upgrading to a higher MERV-rated filter if you have allergies, asthma, or live in an area with poor air quality.
– Consult an HVAC professional to ensure compatibility with your system.
4.2 Regular maintenance:
– Establish a regular maintenance schedule to check and replace air filters.
– Inspect filters monthly and replace them every 1-3 months, depending on usage and filter type.
4.3 Additional air cleaning options:
– Explore additional air purification options, such as electronic air cleaners or UV germicidal lights, to enhance indoor air quality.
Conclusion:
Replacing air filters is a fundamental task for maintaining good indoor air quality and ensuring the efficient operation of your HVAC system. By following the steps outlined in this guide, you can confidently replace air filters at a basic level and even explore advanced techniques for improved air filtration. Remember, regular maintenance and choosing the right air filter are the keys to breathing cleaner, healthier air in your home.
Fresh Air Fails: Pitfalls to Avoid When Swapping Filters
When it comes to replacing air filters, there can be a few common and uncommon issues that may arise. Here are some of the most common issues and their solutions, along with some tips and advice:
1. Wrong filter size: A common issue is purchasing the wrong size of air filter. It is crucial to check the size specifications of your HVAC system before buying a new filter. Measure the existing filter or refer to the system’s manual to ensure you get the correct size.
Solution: Double-check the size requirements and purchase the right filter size. If you mistakenly bought the wrong size, return it and get the correct one.
2. Difficulty in removing the old filter: Sometimes, the old air filter can get stuck or be challenging to remove, especially if it hasn’t been replaced for a long time.
Solution: Gently wiggle and maneuver the filter while pulling it out. If it’s still stuck, consult the HVAC system’s manual or seek professional help to avoid damaging the system.
3. Forgetting filter replacement schedule: Many people forget to replace their air filters regularly, leading to reduced air quality and system efficiency.
Solution: Set reminders or create a schedule to replace air filters at recommended intervals. It is generally advisable to replace filters every 1-3 months, depending on factors like filter type, air quality, and household conditions.
4. Mismatched filter type: Using the wrong type of air filter can impact the efficiency and performance of your HVAC system.
Solution: Understand the different types of air filters available (fiberglass, pleated, electrostatic, etc.) and choose the one that suits your needs. Consider factors such as filtration efficiency, airflow requirements, and any specific concerns like allergies or pets.
5. Neglecting filter maintenance: Merely replacing the air filter may not be enough if you neglect other maintenance tasks.
Solution: Along with filter replacement, regularly clean the vents, ducts, and other components of the HVAC system. This helps maintain optimal airflow, prevents debris buildup, and ensures better indoor air quality.
6. Uncommon issues: Occasionally, uncommon issues like filter damage, unusual noises, or system malfunctions may occur during or after filter replacement.
Solution: If you encounter any uncommon issues, it is best to consult a professional HVAC technician. They can diagnose the problem, provide appropriate solutions, and ensure the system is functioning correctly.
Tips and Advice:
– Keep spare filters at home: It’s always handy to have spare filters available, so you don’t have to rush to the store in case of emergencies.
– Consider higher-quality filters: Investing in higher-quality air filters can provide better filtration and improved air quality.
– Regularly inspect the filter: Even if the recommended replacement time hasn’t passed, inspect the filter periodically. If it appears excessively dirty or clogged, it may need replacement sooner.
– DIY vs. professional help: While replacing air filters is a simple task for most homeowners, if you are unsure or encounter any issues, it’s better to seek professional assistance to avoid any potential damage or safety risks.
By being aware of these common and uncommon issues, following the solutions provided, and implementing the tips and advice, you can ensure a smooth and effective air filter replacement process for your HVAC system.
Breathing Easy: Mastering the Art of Air Filter Replacement
If you are already an expert in replacing air filters, congratulations! You are well on your way to becoming a skilled DIYer. Now that you have mastered this task, here are a few other projects that you can tackle:
1. Installing a Smart Thermostat: A smart thermostat can greatly improve your home’s energy efficiency and comfort. Research different models and choose one that suits your needs. Follow the manufacturer’s instructions to install it properly. Remember to turn off the power before starting the installation, and if you are uncomfortable working with electrical wiring, it’s always a good idea to consult a professional.
2. Upgrading Lighting Fixtures: Replacing outdated or inefficient lighting fixtures can make a significant difference in your home’s ambiance and energy consumption. Consider installing LED lights, which are energy-efficient and have a longer lifespan. Make sure to turn off the power before removing the old fixtures and follow the installation instructions provided with the new ones.
3. Installing a Ceiling Fan: Ceiling fans are not only functional but also add a decorative touch to any room. Before starting the installation, ensure that you have the necessary electrical wiring and support in place. Follow the manufacturer’s instructions carefully to mount the fan securely and connect the electrical components correctly.
4. Adding a Programmable Irrigation System: If you have a garden or a large outdoor space, installing a programmable irrigation system can save you time and water. Start by planning the layout and determining the watering needs of your plants. Dig trenches to bury the irrigation pipes and connect them to a timer controller. Make sure to test the system thoroughly before covering the trenches.
5. Building Custom Shelving: If you have a knack for woodworking, building custom shelving can be a rewarding project. Measure the space where you want to install the shelves and design them according to your needs. Choose the appropriate materials and tools, and follow a detailed plan or tutorial to ensure accurate and sturdy construction.
Remember, as an advanced DIYer, always prioritize safety. Use proper protective gear, follow safety guidelines, and don’t hesitate to consult professionals or experts when needed. Happy DIYing!
Tags: airfilterefficiency, airfilterinstallation, airfilterlifespan, airfiltermaintenance, airfilterreplacement, airfiltertips, airfilters, airfiltrationsystem, bestairfilters, cleanairfilters, dirtyairfilters, DIYairfilterreplacement, filterreplacement, furnacefilters, homeairquality, HVACfilters., HVACmaintenance, improveairquality, indoorairpollution, replaceairfilters
Tweet