Revive Your Hardwood Floors: DIY Repair Tips
Hardwood floors are a popular choice for many homeowners due to their durability, timeless beauty, and ease of maintenance. However, over time, they can become damaged or worn out, making it necessary to repair them. In this guide, we’ll walk you through the basics of repairing hardwood floors.
Step 1: Assess the Damage
The first step in repairing hardwood floors is to assess the damage. This will help you determine the best course of action. Common types of damage include scratches, dents, and gouges. If the damage is minor, you may be able to fix it with a simple DIY solution. However, if the damage is extensive, you may need to hire a professional.
Step 2: Gather Materials
Once you have assessed the damage, you’ll need to gather the necessary materials for the repair. This will depend on the type and extent of the damage. Common materials include wood putty, sandpaper, wood stain, and finish.
Step 3: Prepare the Area
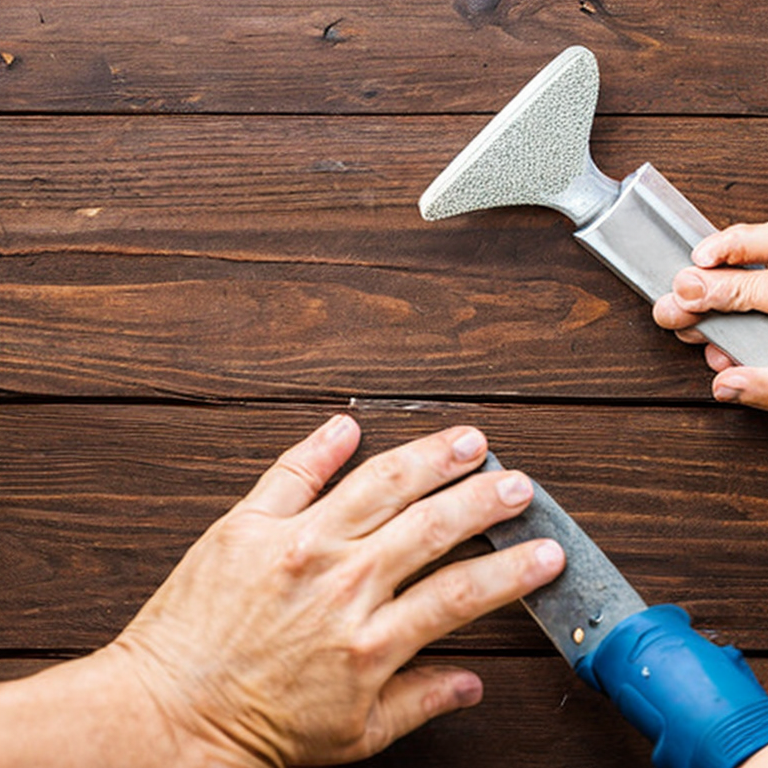
Before you begin the repair, you’ll need to prepare the area. This involves removing any furniture or obstacles from the room and thoroughly cleaning the floor. You may also need to remove any damaged or loose boards.
Step 4: Repair the Damage
Now it’s time to repair the damage. For minor scratches or dents, you can use wood putty to fill in the gaps. Simply apply the putty to the affected area, smooth it out with a putty knife, and let it dry. Once dry, sand the area until smooth and then apply wood stain and finish.
For deeper scratches or gouges, you may need to replace the damaged board. This involves cutting out the damaged section of the board and fitting a new board in its place. You’ll need to sand the edges of the new board to ensure a tight fit and then stain and finish the area.
Step 5: Finishing Touches
Once the repair is complete, you’ll need to apply a finish to the entire floor to ensure a consistent look and protect the repaired area. You can choose from a variety of finishes, including oil-based and water-based finishes. Follow the manufacturer’s instructions for application and drying times.
In conclusion, repairing hardwood floors can be a DIY project or require professional assistance depending on the extent of the damage. By following these steps and taking the time to properly assess and prepare the area, you can restore your hardwood floors to their original beauty.
Hardwood Floor Repairs: The Top Troubles You’ll Tackle
Common issues that one may come up with when repairing hardwood floors include:
1. Scratches and dents: These are common issues that can be caused by furniture, pets, or high heels. To repair minor scratches and dents, you can use a wood filler that matches the color of your hardwood floor. For deeper scratches or dents, you may need to sand and refinish the area.
2. Gaps between boards: This is a common issue that occurs due to the expansion and contraction of hardwood flooring. To fix this issue, you can fill the gaps with wood filler or use rope to fill the larger gaps. You can also try to prevent gaps by maintaining proper humidity levels in your home.
3. Cupping and crowning: Cupping is when the edges of the hardwood floorboards are higher than the center, while crowning is the opposite. These issues are caused by moisture imbalances and can be fixed by addressing the source of the moisture, such as a leak or improper ventilation.
Uncommon issues that one may come up with when repairing hardwood floors include:
1. Buckling: This is when the hardwood floorboards lift off the subfloor, and it is usually caused by excessive moisture. To fix this issue, you may need to replace the damaged boards and address the source of the moisture.
2. Insect damage: Insects such as termites and beetles can cause damage to hardwood floors. To fix this issue, you may need to replace the damaged boards and treat the area with insecticide.
3. Warping: This is when the hardwood floorboards become distorted, and it can be caused by moisture or improper installation. To fix this issue, you may need to replace the damaged boards and address the source of the moisture or have the floorboards properly installed.
Tips and advice for repairing hardwood floors:
1. Always start with the least invasive repair method and work your way up.
2. Use a wood filler that matches the color of your hardwood floor to ensure a seamless repair.
3. When sanding and refinishing, always wear protective gear, such as a mask and goggles, and ensure proper ventilation.
4. Hire a professional if you are unsure of how to repair your hardwood floors or if the issue is more complex.
Revive Your Hardwood: Master the Art of Repair
If you’re an expert in repairing hardwood floors, there are several other advanced projects you can take on to enhance the look and feel of your home. Here are a few ideas for you:
1. Refinishing Hardwood Floors: This involves sanding down the top layer of your hardwood floors and applying a new finish to make them look brand new. This is a complex process that requires specialized tools and equipment, but can be a great way to give your floors a fresh, updated look.
2. Installing Hardwood Stairs: If you’re up for a challenge, installing hardwood stairs can be a great way to add elegance and sophistication to your home. You’ll need to measure and cut each piece of wood precisely, and ensure that the stairs are level and safe to use.
3. Creating Custom Hardwood Patterns: If you have a creative streak, you can experiment with different patterns and designs to create a truly unique look for your hardwood floors. This can be done by mixing and matching different types of wood, or by using intricate inlays and borders to create a one-of-a-kind design.
4. Installing Hardwood Walls: While hardwood walls may not be as common as hardwood floors, they can add a luxurious touch to any room in your home. This project involves installing wood planks on the walls and requires a high level of precision to achieve a seamless finish.
No matter which project you choose, it’s important to take the time to plan and prepare thoroughly before getting started. Make sure you have all the necessary tools and equipment, and don’t be afraid to seek advice or assistance from other experts in the field. With a little patience and perseverance, you can tackle any advanced hardwood project and create a beautiful, lasting result.
Tags: dents, DIY, filler, finish, flooring, gaps, gouges, hardwoodfloors, homeimprovement, maintenance, polyurethane, refinishing, repair, restoration, sanding, scratches, staining, techniques, tools, wood
Tweet