Say Goodbye to Cracks: Master Drywall Repair Today!
Drywall, also known as gypsum board or sheetrock, is a common material used in modern construction for walls and ceilings. Drywall is relatively easy to install, but can be damaged over time due to normal wear and tear, accidents, or water damage. In this guide, I will explain how to repair drywall so that you can restore your walls and ceilings to their original condition.
Materials you will need:
– Drywall joint compound
– Drywall tape
– Sandpaper (medium grit)
– Putty knife (at least 4 inches wide)
– Drywall saw or utility knife
– Sanding block
– Paint (matching the color of your wall)
Step 1: Assess the damage
The first step in repairing drywall is to assess the damage. If the damage is a small hole or dent, you can use joint compound to fill it in. If the damage is larger, you may need to cut out the damaged area and patch it with a new piece of drywall.
Step 2: Prepare the area
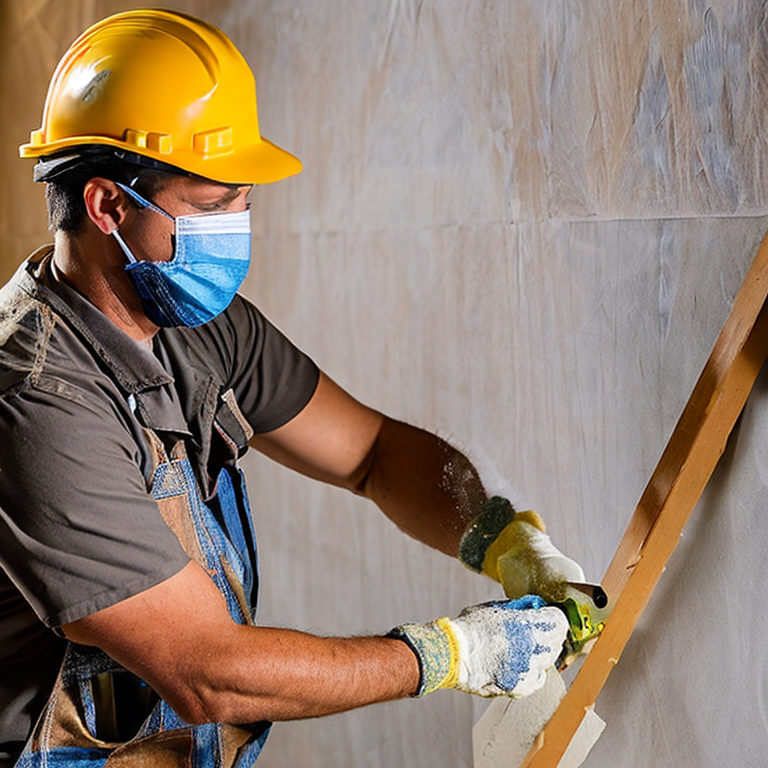
Before you begin repairing the drywall, you need to prepare the area. Remove any loose drywall or paint around the damaged area. If necessary, use a drywall saw or utility knife to cut out any damaged or uneven edges. Be sure to wear safety goggles and a dust mask during this step to protect yourself from dust and debris.
Step 3: Apply drywall tape
If you are repairing a small hole or dent, you will need to apply drywall tape over the damaged area. Cut a piece of drywall tape to size and place it over the damaged area. Make sure the tape is centered over the hole or dent. Use a putty knife to smooth out any bubbles or wrinkles in the tape.
Step 4: Apply joint compound
Once the tape is in place, apply a thin layer of joint compound over the tape with a putty knife. Smooth out the compound so that it is flush with the surrounding wall. Allow the compound to dry completely before proceeding to the next step.
Step 5: Sand the surface
Once the joint compound is dry, use medium-grit sandpaper to sand down the surface until it is smooth and even. Be careful not to sand too much or you may damage the tape or the surrounding wall.
Step 6: Apply a second layer of joint compound
Apply a second layer of joint compound over the first layer, making sure to extend the compound beyond the edges of the first layer. Smooth out the compound with a putty knife and allow it to dry completely.
Step 7: Sand the surface again
Once the second layer of joint compound is dry, use a sanding block to sand the surface until it is smooth and even. Be sure to sand lightly to avoid damaging the surface.
Step 8: Apply paint
Once the surface is smooth and even, you can apply paint to match the color of your wall. Use a paintbrush or roller to apply the paint and allow it to dry completely before applying a second coat if necessary.
If you are repairing a larger area, you will need to cut out the damaged area and patch it with a new piece of drywall. This process involves cutting a piece of drywall to size, attaching it to the studs behind the wall, and then applying joint compound and tape over the seams. The steps involved in this process are beyond the scope of this guide and may require the assistance of a professional.
In conclusion, repairing drywall is a relatively simple process that can be done with a few basic tools and materials. By following these steps, you can restore your walls and ceilings to their original condition and save money on professional repairs.
Patchwork Woes: Tackling Drywall Repair Headaches
When repairing drywall, there are a few common and uncommon issues that you may come across. Here are some of them along with possible solutions, tips, and advice:
1. Common issue: Cracks in drywall
Solution: Apply joint compound to the crack, let it dry, sand it down, and repeat until the crack is filled. Then, apply a thin coat of joint compound over the entire area and sand it smooth.
2. Common issue: Holes in drywall
Solution: For small holes, use spackling compound to fill the hole and sand it smooth. For larger holes, cut a patch of drywall that fits the hole, attach it with screws or adhesive, and cover the seams with joint compound.
3. Common issue: Uneven or wavy drywall
Solution: Apply joint compound to the uneven areas and use a drywall sander to smooth it out. For severe waves or bumps, you may need to sand down the high spots and fill in the low spots with joint compound.
4. Uncommon issue: Mold on drywall
Solution: If the mold is limited to a small area, you can scrub it off with a solution of bleach and water. If the mold has spread or is on porous drywall, you may need to replace the affected area.
5. Uncommon issue: Water damage to drywall
Solution: Cut out the damaged area, making sure to remove any wet insulation or other materials. Let the area dry completely before installing a new piece of drywall and finishing it with joint compound.
Tips and advice:
– Always wear protective gear, such as a dust mask and safety glasses, when working with drywall.
– Use the right tools for the job, such as a drywall saw, utility knife, and sander.
– Take your time and work carefully to avoid making mistakes that could require redoing the repair.
– If you’re uncertain about how to tackle a repair, consult with a professional or watch instructional videos to learn the proper techniques.
Master the Art of Drywall Repair: A Pro Guide
If you are an expert in repairing drywall, there are many other home improvement projects that you can undertake. Here are a few suggestions:
1. Install Crown Molding: Crown molding adds a touch of elegance to any room. It is a bit tricky to install, but with your expertise in drywall repair, you should be able to handle it. Make sure to measure carefully and use a miter saw to cut the corners at the correct angles.
2. Build Built-In Shelving: If you have some extra space in a room, building built-in shelving can be a great way to add some storage and style to your home. You will need to measure carefully and use a level to ensure that the shelves are straight.
3. Install Wainscoting: Wainscoting is a classic way to add interest to a room. You will need to measure carefully and use a saw to cut the panels to size. Then, you can attach them to the wall using adhesive and nails.
4. Create a Feature Wall: Adding a feature wall to a room can completely transform the space. You can use wallpaper, paint or even wood planks to create a unique look. Make sure to measure carefully and use a level to ensure that the lines are straight.
When taking on advanced projects, it’s important to remember to take your time and measure twice. Always use the correct tools and safety equipment. As an expert in drywall repair, you have the skills and knowledge to take on these more advanced home improvement projects.
Tags: DIYhomerepair, drywallinstallation, fixingcracksinwalls, fixingholesinwalls, Hereare20keywordsyoucanuseforthemetakeywordstaginyourHTMLforSEO:drywallrepair, homerenovation., jointcompound., paintingwalls, patchingdrywall, repairingdents, repairingwaterdamage, sandingdrywall, spackling, walldamage, wallfinishing, wallmaintenance, wallpriming, wallrepair, wallrestoration, walltexture
Tweet