Cultivate Your Own Creamy Probiotic Powerhouse: Mastering Kefir!
Sure! Let’s start from the basics and gradually expand to make you an expert on making kefir.
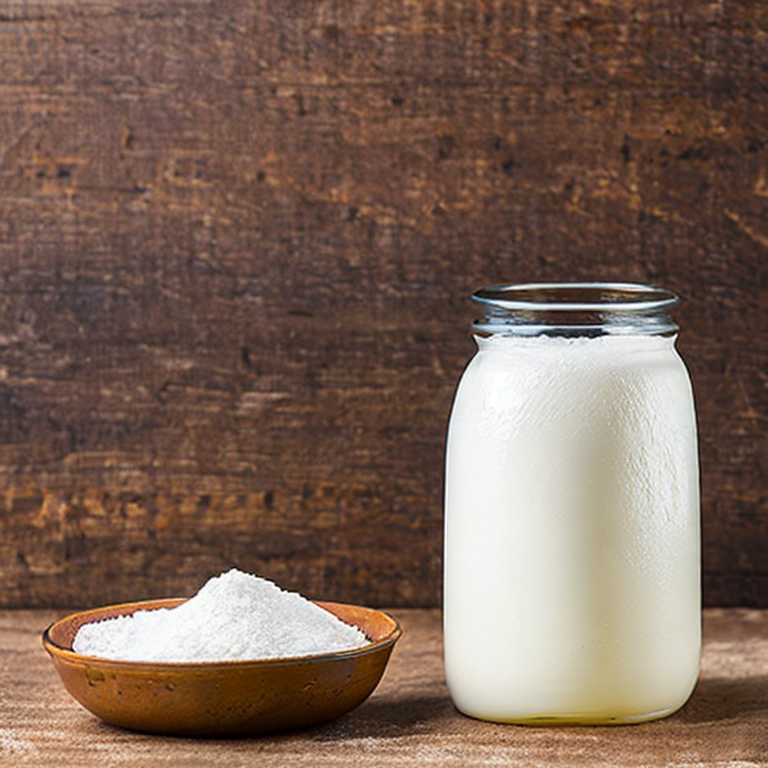
Kefir is a fermented milk beverage that is known for its tangy taste and probiotic benefits. It is made by introducing kefir grains into milk and allowing them to ferment over a certain period of time. Kefir grains are not actual grains, but rather small gelatinous clusters of bacteria and yeast that resemble cauliflower florets.
To make kefir, you’ll need the following ingredients and equipment:
Ingredients:
– Kefir grains: You can obtain kefir grains from a friend who already makes kefir or purchase them online or from health food stores.
– Milk: Any type of milk can be used, such as cow’s milk, goat’s milk, or even plant-based milk like coconut milk or almond milk. However, it’s best to start with cow’s milk as it is the most commonly used and easiest to work with.
Equipment:
– Glass jar: Choose a jar size that suits your needs, but keep in mind that the kefir grains require some space to ferment properly.
– Non-metal stirring utensil: Metal can react with kefir grains, so it’s best to use a wooden or plastic spoon.
– Breathable cover: Use a cloth or coffee filter to cover the jar, allowing airflow while keeping out contaminants.
– Rubber band: This will help secure the cover to the jar.
Now that you have all the necessary ingredients and equipment, let’s dive into the step-by-step process of making kefir:
1. Prepare the jar: Ensure that the jar is clean and sterilized to prevent any unwanted bacteria from affecting the kefir. You can wash it with hot soapy water or run it through the dishwasher.
2. Add kefir grains to the jar: Place the kefir grains into the jar. The general rule of thumb is to use approximately 1-2 tablespoons of kefir grains per 1 cup of milk. However, you can adjust the quantity based on your preferences and the desired fermentation time. The more grains you use, the faster the fermentation process.
3. Add milk: Pour the desired amount of milk into the jar, leaving some headspace for the kefir to expand during fermentation. It’s recommended to start with a smaller quantity, such as 1 cup, until you become more comfortable with the process.
4. Stir gently: Use a non-metal stirring utensil to gently stir the milk and kefir grains together. This helps distribute the grains throughout the milk and ensures even fermentation.
5. Cover the jar: Place a breathable cover, such as a cloth or coffee filter, over the jar opening. Secure it with a rubber band to keep out insects and other contaminants while allowing airflow.
6. Fermentation: Now, it’s time to let the magic happen! Place the covered jar in a warm spot, away from direct sunlight. The ideal temperature for kefir fermentation is between 68-85°F (20-29°C). The fermentation process typically takes around 24-48 hours, but it can vary depending on the temperature and the amount of kefir grains used.
7. Check for readiness: After the initial fermentation period, you can start checking whether the kefir is ready. The milk should have thickened slightly, and you may notice a tangy aroma. You can taste a small amount to determine if it has reached your desired level of tanginess. The longer the fermentation, the tangier the kefir will become.
8. Strain the kefir: Once the kefir is ready, it’s time to separate the kefir grains from the fermented milk. Place a plastic or stainless-steel strainer over a clean bowl or another jar. Pour the fermented kefir into the strainer, allowing the liquid kefir to pass through while catching the kefir grains in the strainer.
9. Rinse the grains (optional): If desired, you can rinse the kefir grains with filtered water to remove any milk residue. However, this step is not necessary and can be skipped if you prefer a stronger flavor.
10. Start a new batch: After straining, the kefir grains can be reused for the next batch of kefir. Simply return them to the jar, add fresh milk, and repeat the process from step 4 onwards.
11. Store and enjoy: Transfer the strained kefir into a clean jar or bottle and store it in the refrigerator. It can be consumed immediately or kept for several days. Kefir will continue to ferment, albeit at a slower rate, in the refrigerator.
Congratulations! You are now equipped with the knowledge to make kefir at home. With practice and experimentation, you can customize your kefir-making process to suit your taste preferences. Enjoy the numerous health benefits of this probiotic-rich beverage as you continue your kefir-making journey!
Kefir Conundrums: Navigating the Troubles of Homemade Fermentation
When making kefir, there are several common and uncommon issues that may arise. Here are some of the most common issues along with their solutions, tips, and advice:
1. Thin or watery kefir: If your kefir turns out thin or watery instead of thick and creamy, it could be due to a few reasons. Firstly, ensure that you are using the correct ratio of kefir grains to milk. The general guideline is 1-2 tablespoons of kefir grains for every 1 cup of milk. Secondly, the temperature may be too high or too low for the kefir to properly ferment. Try adjusting the temperature to around 68-85°F (20-30°C), as this range is ideal for kefir fermentation. Lastly, make sure you are giving the kefir enough time to ferment. Fermentation time can vary depending on the ambient temperature, but typically it takes around 24-48 hours. If the kefir is still thin after this time, you can extend the fermentation period.
2. Separation of whey: It is common for kefir to separate into curds and whey during fermentation. While this separation is normal, it can be undesirable for some. To prevent excessive separation, try fermenting your kefir at a slightly lower temperature or for a shorter duration. After fermentation, gently stir the kefir to mix the curds and whey back together. However, it’s important to note that some separation is natural and a sign that the kefir is fermenting properly.
3. Over-fermented kefir: If your kefir tastes overly sour or has a strong tang, it might be over-fermented. Over-fermentation can occur if the kefir is left to ferment for too long, especially in warmer temperatures. To avoid this issue, monitor the fermentation time closely and taste your kefir periodically to ensure it reaches your preferred level of tartness. Additionally, storing the kefir in the refrigerator after fermentation can slow down the fermentation process and help maintain the desired flavor.
4. Moldy kefir grains: Occasionally, kefir grains can develop mold due to improper storage or contamination. To prevent this, always use clean utensils, jars, and equipment when handling kefir grains. Ensure that the milk used for fermentation is fresh and pasteurized. If you notice mold on your kefir grains, discard them and start with a fresh batch. It’s a good practice to regularly rinse your kefir grains with filtered water to keep them clean and healthy.
5. Uncommon issue – Slow kefir grain growth: If your kefir grains are not growing or multiplying as expected, it could be due to various factors. Firstly, ensure the grains are receiving adequate nutrients by using fresh milk. You can also try switching to a different type of milk, such as whole milk, to provide more nourishment. Additionally, make sure the fermentation environment is optimal with a consistent temperature and proper aeration. If the issue persists, you can try rejuvenating your kefir grains by soaking them in fresh milk for a few days at room temperature.
Remember, making kefir is a learning process, and it may take a few batches to get the hang of it. Don’t be discouraged by initial setbacks, as they can provide valuable insights for improvement. With time and practice, you’ll become more proficient in making delicious and healthy kefir at home.
Kefir Crafting: Unleash Your Inner Probiotic Maestro!
For advanced users who are already experts in making kefir, there are several exciting projects and variations to explore. Here are a few suggestions and advice to take your kefir-making skills to the next level:
1. Experiment with Different Milk Types: While kefir is traditionally made with cow’s milk, advanced users can try making kefir with alternative milk types like goat’s milk, sheep’s milk, or even plant-based milk such as almond, coconut, or soy milk. Each type of milk will yield a unique flavor profile, so don’t be afraid to get creative and discover new combinations.
2. Explore Flavor Infusions: Once you have mastered the basic kefir-making process, you can experiment with flavor infusions to enhance the taste. Add fruits, herbs, or spices during the fermentation process to infuse the kefir with delightful flavors. For example, try adding sliced strawberries and mint leaves or a dash of cinnamon and vanilla extract to create delicious variations.
3. Make Kefir Cheese: Kefir can be transformed into a tangy and creamy cheese by straining the fermented kefir grains. After fermenting the kefir, place it in a cheesecloth or fine-mesh strainer and allow the whey to separate. This process will create a thick and spreadable kefir cheese that can be enjoyed on crackers, bread, or as a dip for vegetables.
4. Create Kefir Smoothies and Frozen Treats: Use your homemade kefir to make refreshing smoothies or frozen treats. Blend kefir with your favorite fruits, vegetables, and sweeteners to prepare nutritious and probiotic-rich smoothies. You can also freeze kefir in popsicle molds for a healthy and tasty frozen treat during warmer months.
5. Bake with Kefir: Kefir can be a wonderful addition to baked goods, adding a subtle tanginess and moisture to recipes. Replace buttermilk or regular milk with kefir in recipes like pancakes, muffins, bread, or cakes. The probiotic content of kefir can also aid in the fermentation process of sourdough bread, resulting in a more flavorful and chewy loaf.
6. Share Your Knowledge: As an expert in kefir-making, consider sharing your knowledge with others. Start a blog or create social media content to document your experiences, recipes, and tips. You can also join online communities or forums to engage with fellow kefir enthusiasts and exchange ideas.
Remember, as an advanced kefir maker, always maintain strict hygiene practices, regularly refresh your kefir grains, and pay attention to fermentation times to ensure the best quality and safety of your kefir. Happy kefir-making!
Tags: dairy-free, digestivehealth, fermenteddrinks, fermentingmilk, guthealth, healthybeverages, homemadekefir, homemadeprobiotics, homemadeyogurt, immunesystem, kefir, kefirbenefits, kefirculture, kefirgrains, kefirinstructions, kefirrecipe, kefirsmoothie, lactose-free, naturalfermentation, probiotics
Tweet