Knot Your Average Friendship: A DIY Bracelet Guide
Friendship bracelets are a fun and easy craft project that you can do with your friends or family members. They are made by knotting colorful threads or embroidery floss in a specific pattern to create a unique and personalized bracelet.
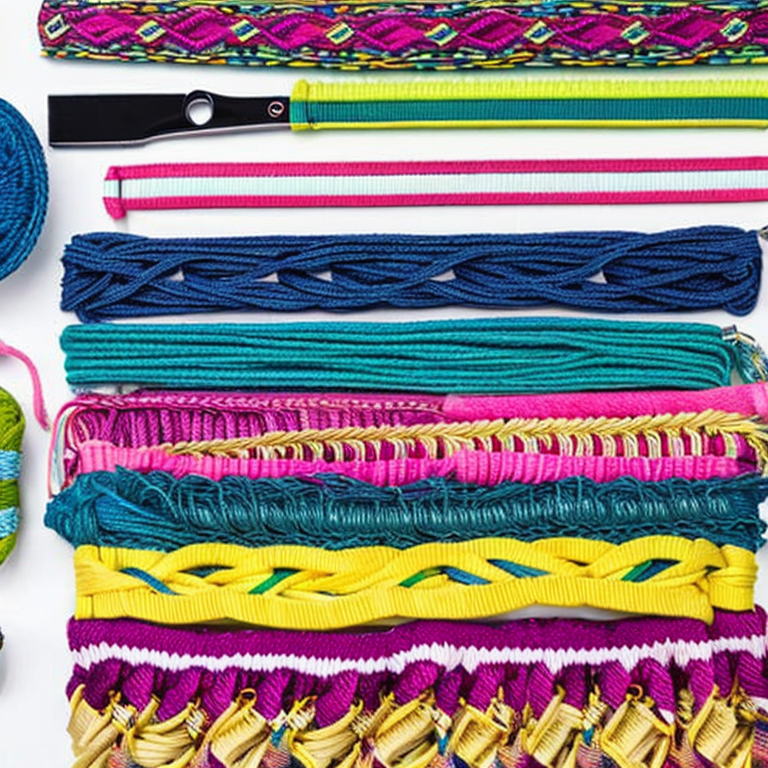
Materials:
– Embroidery floss or thread in various colors
– Scissors
– Tape or clipboard (optional)
Step 1: Choose your colors
Select the colors of embroidery floss you would like to use for your bracelet. You can choose as many colors as you like, but it’s typically best to choose at least three to give your bracelet some variety.
Step 2: Cut the threads
Cut the threads to the desired length. A good rule of thumb is to cut each thread to about 2.5 times the length of the finished bracelet. This will give you enough thread to work with and ensure that your bracelet will fit comfortably.
Step 3: Tie a knot
Take all of the threads together and tie a knot at one end. You can use a clipboard or tape to hold the threads in place while you work.
Step 4: Start knotting
Separate the threads into two groups with the outermost threads on the left and right. Take the left group of threads and make a four shape over the right group. Then take the right group of threads and make a backwards four shape over the left group. Pull both knots tight.
Step 5: Continue knotting
Repeat step 4 until you have reached the desired length for your bracelet. You can change the order of the colors to create different patterns and designs.
Step 6: Finish off the bracelet
When you have reached the desired length, tie a knot at the end of the threads to secure the bracelet. You can also add a button or bead to one end of the bracelet and create a loop on the other end to fasten the bracelet.
With these steps, you can make a basic friendship bracelet. There are many different patterns and techniques that you can use to create more intricate designs. With practice, you can become an expert in the art of making friendship bracelets!
Untangle Your Friendship Woes: Bracelet Making Mishaps Solved
When making friendship bracelets, there are several issues that one may encounter. Here are some common and uncommon problems that may arise and tips on how to solve them:
1. Knots coming undone: This is a common problem that can be solved by using a dab of clear nail polish or fabric glue to secure the knot.
2. Uneven bracelet length: This can be avoided by measuring the length of the string or thread before starting the bracelet. You can also use a ruler or measuring tape to ensure that each strand is of equal length.
3. Tangled thread: To avoid tangled thread, keep the strands organized and separate while working on the bracelet. You can use a clipboard or tape to hold the strands in place.
4. Color bleeding: When using different colored threads, there is a possibility of color bleeding. To avoid this, wash the threads before starting the bracelet to remove any excess dye.
5. Difficulty tying knots: If you find it challenging to tie knots, you can use a small crochet hook or needle to help pull the thread through.
6. The bracelet is too tight or too loose: This can be solved by adjusting the tension of the knots or changing the number of threads used to make the bracelet.
7. The bracelet breaks: This can happen if the thread used is too thin or weak. To avoid this, use a thicker and stronger thread or double up on the threads for added strength.
8. Running out of thread: To avoid running out of thread mid-bracelet, measure out more thread than you think you will need, or use a larger spool of thread.
9. Making mistakes: Mistakes can happen when making friendship bracelets. To fix mistakes, carefully undo the knot and redo it correctly. You can also use scissors to cut out any mistakes and start again.
In summary, making friendship bracelets can be a fun and rewarding activity. By following these tips, you can avoid common problems and create beautiful bracelets for you and your friends.
Up Your Bracelet Game: Master Advanced Friendship Bracelet Techniques
For advanced users who are already experts in making friendship bracelets, there are many exciting projects that you can try. Here are some ideas to help you get started:
1. Embroidered Bracelets: Try adding embroidery to your friendship bracelets to create unique and beautiful designs. You can use a variety of embroidery techniques such as French knots, satin stitch, and cross-stitch to create intricate patterns.
2. Beaded Bracelets: Incorporate beads into your friendship bracelets to add texture and interest. You can use a variety of bead types including seed beads, glass beads, and gemstone beads to create different looks.
3. Macrame Bracelets: Macrame is a technique that involves knotting cords together to create intricate designs. You can use macrame techniques to create stylish bracelets that feature intricate patterns and textures.
4. Leather Bracelets: Use leather cords and strips to create bracelets that are both stylish and durable. You can use leather in combination with other materials such as beads and charms to create unique designs.
5. Wrap Bracelets: Wrap bracelets are a popular style that involves wrapping cords or chains around the wrist multiple times. You can use a variety of materials and techniques to create different looks, from simple braids to intricate beadwork.
When working on advanced friendship bracelet projects, it’s important to remember to take your time and be patient. These projects can be more complex and require more skill, so don’t get discouraged if it takes a little longer to complete them. Also, don’t be afraid to experiment and try new things – this is how you’ll discover new techniques and develop your own unique style. Good luck and have fun!
Tags: accessories, braiding, colorful, crafts, creative, designs, DIY, easy, fashion, friendshipbracelets, gifts, handmade, jewelry., knotting, patterns, personalized, step-by-step, stringbracelets, summeractivities, tutorials
Tweet