Let the Sun Shine: DIY Solar Light Tutorial
Sure, let’s get started!
A solar light is a type of outdoor lighting that is powered by solar energy. It uses a solar panel to absorb sunlight during the day, which is then stored in a rechargeable battery to power an LED light at night.
To make a solar light, you will need the following materials:
– A solar panel
– A rechargeable battery
– An LED light
– A resistor
– Wires
– A switch
– A battery holder
– A housing for the components
Step 1: Choose a solar panel
The first step in making a solar light is to choose a solar panel. The size of the solar panel will depend on the amount of sunlight available in your location and the amount of power you need to run the LED light. Ideally, you should choose a solar panel that can generate at least 5 volts of power.
Step 2: Connect the solar panel to the battery
Next, you need to connect the solar panel to the rechargeable battery. This can be done using wires and a diode to prevent the battery from discharging back into the solar panel. The diode ensures that the power only flows from the solar panel to the battery.
Step 3: Add a resistor
A resistor is needed to regulate the amount of power flowing from the battery to the LED light. This is important to prevent the LED from burning out due to excess power. The resistor should be connected to the positive terminal of the battery and the positive terminal of the LED.
Step 4: Connect the LED light
The LED light should be connected to the battery and the resistor. The negative terminal of the LED should be connected to the negative terminal of the battery. The positive terminal of the LED should be connected to the resistor.
Step 5: Add a switch
A switch is needed to turn the solar light on and off. The switch should be connected to the positive terminal of the battery and the positive terminal of the LED.
Step 6: Add a battery holder
A battery holder is needed to hold the rechargeable battery in place. The battery holder should be connected to the wires that connect the solar panel to the battery.
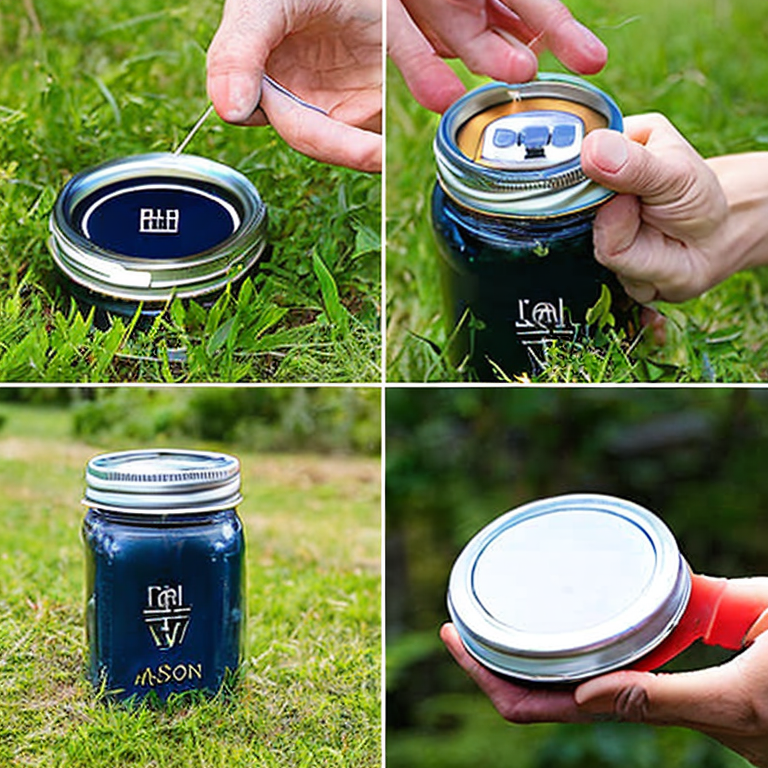
Step 7: Housing the components
Finally, all the components should be housed in a container that will protect them from the elements. This can be a plastic container or a metal box. Make sure that the container is waterproof to protect the components from rain or snow.
Congratulations, you have now made a solar light! With these simple steps, you can create your own solar lights to light up your garden or pathway. With a little creativity, you can customize your solar lights to suit your style and needs.
Light up your life: Avoid these solar slip-ups
Shedding Light: Mastering the Art of Solar Illumination
Great question! If the reader is already an expert in making solar lights, there are a number of other projects they might want to try. Here are a few ideas:
1. Solar-Powered Outdoor Oven: This is a great project for anyone who loves to cook outdoors. Simply modify a standard outdoor oven to include a solar panel and battery, and you can bake bread, roast meat and vegetables, and even make pizza without using any traditional fuel sources.
2. Solar-Powered Water Pump: If you have a garden or greenhouse that needs frequent watering, a solar-powered water pump could be just what you need. These pumps use the power of the sun to move water from one place to another, making them ideal for areas without access to traditional power sources.
3. Solar-Powered Electric Bike: For those who love to ride but want to reduce their carbon footprint, a solar-powered electric bike is the perfect solution. By adding a solar panel and battery to an electric bike, you can ride for longer distances without worrying about running out of power.
4. Solar-Powered Air Conditioner: If you live in a hot climate and want to reduce your energy bills, a solar-powered air conditioner might be just what you need. These systems use the power of the sun to cool your home, making them both eco-friendly and cost-effective.
When taking on any of these projects, it’s important to remember to prioritize safety and to follow instructions carefully. Always wear appropriate protective gear, and consult with experts or online resources if you’re unsure about any aspect of the project. Good luck!
Tags: alternativeenergy, cleanenergy, DIY, eco-friendly, energy-efficient, gardenlighting, greenliving, LED, off-grid, outdoorlighting, photovoltaic., rechargeablebattery, renewableenergy, solarenergy, solarlamp, solarlantern, solarlight, solarpanel, solarpower, sustainability
Tweet