Crowning Glory: A Step-By-Step Guide to Installing Molding
Crown molding is a decorative trim that is installed at the top of walls where they meet the ceiling. It can add a touch of elegance and sophistication to any room, and it’s a relatively easy DIY project that can be completed in a weekend. Here’s how to install crown molding:
1. Measure the room: The first step is to measure the length of each wall where you want to install crown molding. Be sure to take into account any corners or angles in the room. This will help you determine how much crown molding you will need.
2. Choose your molding: There are many different types of crown molding to choose from, including wood, plaster, and polystyrene. Wood is the most traditional and durable, while plaster and polystyrene are more affordable and easier to work with.
3. Cut the molding: Once you have chosen your molding, you will need to cut it to the correct size. Use a miter saw to make angled cuts for corners and joints. If you’re not comfortable using a miter saw, you can also use a coping saw to cut the molding at an angle.
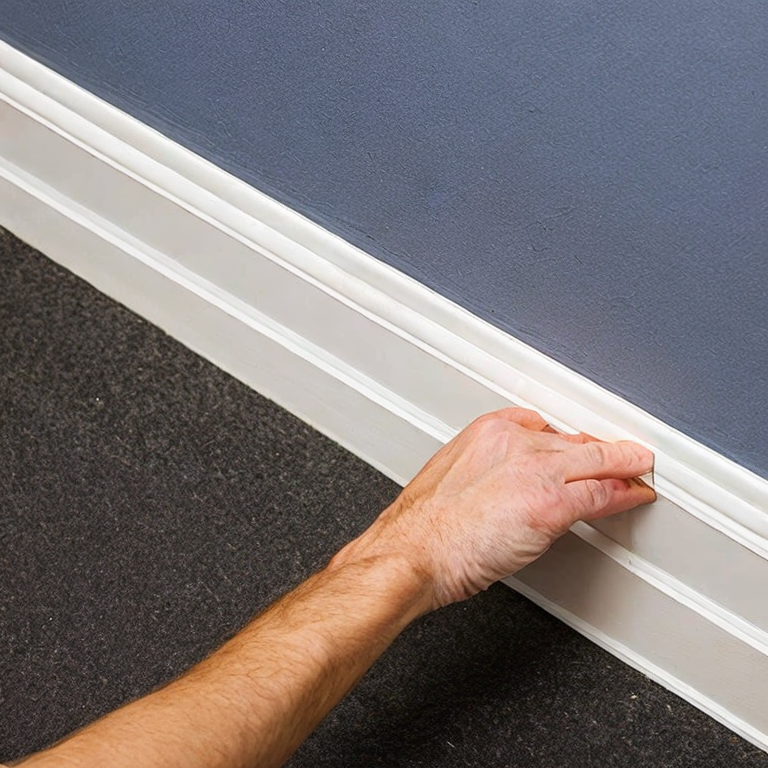
4. Install the molding: Start by nailing the molding to the wall using finishing nails. Be sure to nail it into the studs for a secure hold. Use wood glue to reinforce the joints and corners. If you’re using plaster or polystyrene molding, you can also use adhesive to attach it to the wall.
5. Fill the gaps: Once the molding is installed, you may notice gaps between the molding and the wall or ceiling. Use wood putty or caulk to fill these gaps and create a seamless look.
6. Sand and paint: Once the putty or caulk has dried, sand it down so that it’s flush with the molding. Then, prime and paint the molding to match the rest of the room.
7. Enjoy your new crown molding: With your new crown molding installed, your room will have a polished and sophisticated look that is sure to impress.
Installing crown molding is a great way to add value and elegance to any room. With these simple steps, you can easily install crown molding yourself and transform your home.
Say Goodbye to Crown Molding Mishaps
Installing crown molding can be a challenging task, especially for those who are not experienced in carpentry. Here are some of the most common and uncommon issues that may arise during the installation, along with tips and solutions to help you achieve a professional-looking finish:
1. Uneven walls: One of the most common issues that arise during the installation of crown molding is uneven walls. This can be caused by a variety of factors, such as plaster or drywall that is not level or walls that are not perfectly straight.
Solution: The best way to tackle this issue is to use a level to determine where the high and low points are on the wall. You can then use shims to adjust the position of the crown molding and ensure that it is level.
2. Cutting the crown molding at the wrong angle: Crown molding requires precise cuts and angles to fit properly. Cutting the molding at the wrong angle can result in gaps or overlaps that can be unsightly.
Solution: Take your time to measure and mark the angles correctly, and use a miter saw or coping saw to make precise cuts. It’s also a good idea to practice on a scrap piece of molding before cutting the final piece.
3. Uneven joints: Another common issue is uneven joints between two pieces of molding. This can be caused by inaccurate measuring or cutting.
Solution: Use a coping saw to create a perfect fit between two pieces of molding. This involves cutting away the back of one piece of molding so that it fits snugly against the other piece.
4. Molding not staying in place: Sometimes, the crown molding may not stay in place, especially if the walls are not flat. This can result in gaps or cracks between the molding and the wall.
Solution: Use construction adhesive to secure the molding to the wall. Apply the adhesive in small amounts, and press the molding firmly into place. You can also use nails or screws to secure the molding, but make sure to use the right size and avoid over-nailing.
5. Paint drips: Once the crown molding is installed, painting it can be a tricky task. Paint drips and uneven coverage can be unsightly.
Solution: Use a high-quality paintbrush or roller to apply the paint. Take your time and work in small sections, being careful not to overload the brush or roller with paint. You can also use painter’s tape to protect the ceiling or wall from paint drips.
In conclusion, installing crown molding can be a challenging task, but with the right tools, techniques, and attention to detail, you can achieve a professional-looking finish. Take your time, measure twice, and cut once. And remember, practice makes perfect!
Crowning Glory: Mastering Advanced Crown Molding Installation
If the reader is already an expert in installing crown molding, there are several other advanced projects they can take on to elevate the look of their home. Here are a few suggestions:
1. Wainscoting: Wainscoting is a beautiful way to add texture and interest to a room. There are several styles to choose from, including beadboard, raised panel, and flat panel. To install wainscoting, first, measure and mark the height you want the wainscoting to reach. Then, cut your panels to size and attach them to the wall using adhesive and finishing nails. Finally, add a top rail and baseboard to complete the look.
2. Coffered Ceilings: Coffered ceilings are a stunning way to add architectural interest to a room. To install a coffered ceiling, first, measure and mark the placement of your beams. Then, install your beams using glue and finishing nails. Finally, add your ceiling panels to complete the look.
3. Built-in Bookcases: Built-in bookcases can be a beautiful and functional addition to any room. To install built-in bookcases, first, measure the space where you want your bookcases to go. Then, cut your shelving to size and attach them to the wall using brackets. Finally, add your trim and molding to give the bookcases a finished look.
4. Window Seats: Window seats are a cozy and charming addition to any room. To install a window seat, first, measure and mark the placement of your seat. Then, build your seat using plywood and foam padding. Finally, add your trim and molding to give the window seat a finished look.
5. Fireplace Mantels: A fireplace mantel can be a beautiful focal point in any room. To install a fireplace mantel, first, measure and mark the placement of your mantel. Then, cut your mantel to size and attach it to the wall using brackets. Finally, add your trim and molding to give the mantel a finished look.
No matter which project you choose, it’s important to take your time and measure carefully to ensure a professional-looking finished product. Good luck!
Tags: adhesive, angles, caulking, ceiling, crownmolding, cutting, Decor, DIY, finishing, homeimprovement, installation, materials, measuring, moldingstyles, painting, tips, tools, tricks., wall, woodworking
Tweet