Silence the Squeak: A DIY Guide to Floorboard Repair
A squeaky floorboard can be a nuisance in any home. It is caused by the friction between the floorboard and the subfloor or the joist that supports it. The good news is that fixing a squeaky floorboard is a relatively easy task that you can do yourself, with just a few tools and materials.
Step 1: Locate the Squeaky Floorboard
The first step in fixing a squeaky floorboard is to identify which floorboard is causing the noise. To do this, walk around the room and try to locate the exact spot where the squeaking sound is coming from. You can also ask someone to walk on the floor while you listen for the squeak.
Step 2: Access the Floorboard from Below
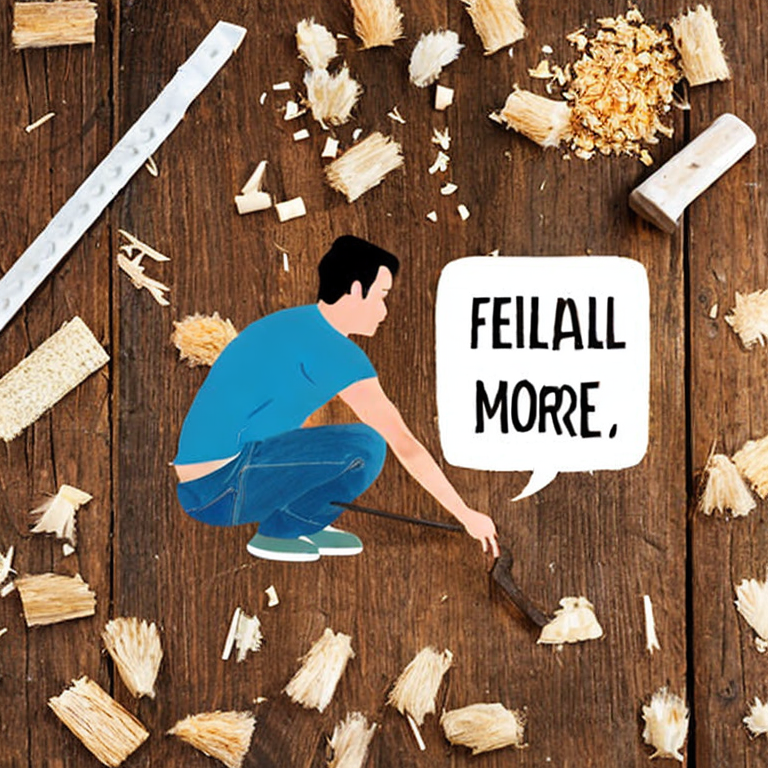
Once you have located the squeaky floorboard, you need to access it from below. This is usually done through the basement or crawlspace. If you don’t have access to the underside of the floor, you may need to remove the flooring above the squeaky board to access it.
Step 3: Secure the Floorboard
Once you have accessed the underside of the floor, you can begin to fix the squeaky floorboard. The most common method is to secure the floorboard to the subfloor or the joist beneath it. You can do this by driving a screw through the floorboard and into the subfloor or joist. Make sure to use a screw that is long enough to reach the subfloor or joist, but not so long that it will damage the flooring above.
Step 4: Fill the Gap
If the squeaking sound is caused by a gap between the floorboard and the subfloor, you can fill the gap with a shim. A shim is a small piece of wood that is used to fill gaps and create a level surface. Simply insert the shim into the gap and secure the floorboard as described above.
Step 5: Lubricate the Joints
If the squeaking sound is caused by the friction between the floorboard and the subfloor or joist, you can lubricate the joints to reduce the friction. You can use powdered graphite or talcum powder to lubricate the joints. Simply sprinkle the powder onto the joints and work it into the gaps with a brush.
Step 6: Test and Repeat if Necessary
Once you have secured the floorboard and filled any gaps, test the floor to see if the squeaking sound has been eliminated. If the sound persists, you may need to repeat the process or try a different method.
In conclusion, fixing a squeaky floorboard can be a simple and straightforward process. By following these steps, you can eliminate the annoying squeaking sound and enjoy a quiet and comfortable home.
Squeaky Floor? Let’s Silence the Problem!
Squeaky floorboards are a common issue that homeowners face. The sound of a squeaky floorboard can be annoying and can even wake people up at night. Here are some common and uncommon issues that may cause squeaky floorboards and some tips on how to fix them:
1. Loose Floorboards: Loose floorboards are one of the most common causes of squeaky floors. Over time, the nails or screws that hold the floorboards in place may become loose, causing the boards to rub against each other and create a squeaking sound.
Solution: Tighten the loose nails or screws. If they are too damaged or loose to hold the floorboard securely, replace them with new ones. You can also add additional screws or nails to secure the board in place.
2. Uneven Subfloor: An uneven subfloor can cause the floorboards to rub against each other and create a squeaking sound.
Solution: Level the subfloor by shimming or adding a layer of plywood to create a smooth, even surface.
3. Moisture Damage: Moisture can cause wood to expand and contract, leading to gaps between floorboards, which can cause squeaking.
Solution: Identify the source of moisture and address the issue. Repair any leaks or humidity issues. Afterward, allow the floorboards to dry completely and fill any gaps with wood filler.
4. Old Age: As floorboards age, they may become dry and brittle, causing them to squeak when walked on.
Solution: Apply wood conditioner to the floorboards to help moisturize and restore them. If the floorboards are severely damaged, consider replacing them.
5. Improper Installation: If the floorboards were not installed correctly, they can cause squeaking.
Solution: Reinstall the floorboards correctly, or hire a professional to do it for you.
In conclusion, fixing squeaky floorboards requires identifying the root cause of the issue and addressing it. Some solutions may require simple DIY fixes, while others may require professional help. Remember to always take the necessary safety precautions when working on your floors.
Squeaky floorboards? Silenced in 5 easy steps
If you’re an expert in fixing squeaky floorboards, congratulations! Here are some other advanced DIY projects that you might be interested in:
1. Installing a new toilet: This project involves removing the old toilet, installing a new wax ring, and securing the new toilet in place. Make sure you have the necessary tools and materials before you begin, and follow the manufacturer’s instructions carefully.
2. Building a deck: A deck can be a great addition to your home, providing a space for outdoor dining and entertaining. This project involves designing the deck, purchasing the necessary materials, and building the structure. Be sure to follow local building codes and safety guidelines.
3. Installing a new light fixture: This project involves turning off the power to the existing light fixture, removing the old fixture, and installing the new fixture. Make sure you have the necessary tools and materials, and follow the manufacturer’s instructions carefully.
4. Painting a room: Painting a room can be a great way to update the look of your home. This project involves preparing the walls, selecting the right paint and color, and applying the paint. Be sure to protect your floors and furniture, and follow safety guidelines when working with paint.
5. Installing a new faucet: This project involves removing the old faucet, installing a new faucet, and connecting the water supply lines. Make sure you have the necessary tools and materials, and follow the manufacturer’s instructions carefully.
Remember, advanced DIY projects can be challenging and time-consuming. Be sure to take your time, follow safety guidelines, and seek help if you need it. Good luck with your projects!
Tags: adhesive, carpentry, creaking, DIY, fix, floorjoist, flooring, homeimprovement, housemaintenance, lubricant., nails, noise, renovation, repair, screws, squeakyfloorboard, steps, subfloor, tools, wooden
Tweet