Sew It Seams: A Beginner’s Guide to Mending Clothes
Sewing repairs can be a daunting task for beginners, but with a little bit of patience and practice, basic sewing repairs can be accomplished easily. Here are the steps to follow for basic sewing repairs:
1. Gather your supplies: For basic sewing repairs, you will need a few essential supplies including a sewing machine, thread, needles, scissors, pins, and fabric for patching. You can purchase these items at a craft store or online.
2. Identify the problem: Take a close look at the item that needs repairing and determine what needs to be fixed. Is there a hole that needs patching, a seam that needs to be re-stitched, or a button that needs to be replaced?
3. Prepare the area: Before you start repairing any item, make sure the area around the problem is clean and free of any loose threads or debris. If there is a hole, trim any frayed edges to prevent them from unraveling further.
4. Patching a hole: If there is a hole in the fabric, cut a piece of fabric slightly larger than the hole and place it behind the hole. Pin the two pieces of fabric together and use a sewing machine or hand stitch to sew around the edges of the patch. If you are using a sewing machine, backstitch at the beginning and end of the seam to secure the thread.
5. Re-stitching a seam: If there is a section of the seam that has come undone, use a needle and thread to stitch the seam back together. Start by knotting the thread and then inserting the needle into the fabric, pulling it through to the other side. Repeat this process, making sure to keep the stitches close together and consistent in size. When you reach the end of the seam, knot the thread to secure it.
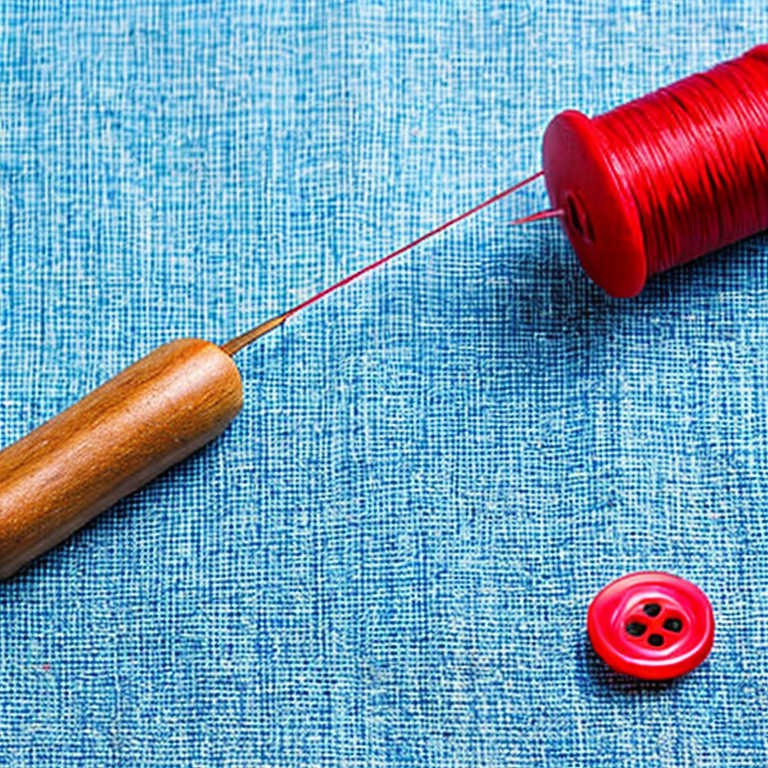
6. Replacing a button: If a button has fallen off, select a replacement button that matches the size and color of the original button. Thread a needle and knot the end of the thread. Insert the needle through the fabric from the back to the front where the button will be placed, and then through one of the holes on the button. Bring the needle back through the fabric and the other hole on the button, and then back through the fabric to the back side. Repeat this process several times, making sure the button is securely attached to the fabric.
7. Finishing touches: Once you have completed the repair, trim any loose threads and iron the item if necessary.
With these basic steps, you can easily repair small tears, holes or loose buttons on clothing and other fabric items. As you progress, you can learn more advanced techniques and expand your sewing skills.
Unpick the Most Common Sewing Slip-Ups
When doing basic sewing repairs, there are several issues that you may encounter. Here are some of the most common and uncommon issues and their solutions:
1. Thread bunching up: This can happen when the tension on the machine is not set correctly. To fix this issue, re-thread the machine, making sure that the thread is properly tensioned.
2. Skipped stitches: This can happen when the needle is dull or bent. Replace the needle with a new one and make sure that it is inserted correctly.
3. Uneven stitching: This can happen when the fabric is not fed evenly through the machine. Make sure that the fabric is being fed through the machine smoothly and adjust the feed dogs if necessary.
4. Broken needle: This can happen if the needle is too thin or if the fabric is too thick. Use a thicker needle for thicker fabrics and make sure that the needle is inserted correctly.
5. Fabric puckering: This can happen if the tension is too tight or if the stitch length is too short. Adjust the tension or stitch length accordingly.
6. Fabric slipping: This can happen if the fabric is not properly secured in the machine. Use pins or clips to hold the fabric in place before sewing.
7. Snagged fabric: This can happen if the fabric is caught in the machine. Use a seam ripper to carefully remove any snags.
8. Knots in the thread: This can happen if the thread is not properly threaded through the machine. Re-thread the machine, making sure that the thread is properly tensioned.
Tips and advice:
– Always use the right needle for the type of fabric you are working with.
– Make sure that the machine is properly threaded and the tension is set correctly.
– Take your time and sew slowly to avoid mistakes.
– Use the right stitch length for the type of sewing you are doing.
– Use a seam ripper to carefully remove any mistakes or snags.
– Practice on scrap fabric before starting any sewing project.
Stitching Up a Storm: Mastering Advanced Sewing Repairs
For advanced sewing users, there are many projects that can be tackled. Here are a few ideas:
1. Tailoring clothes: This involves more advanced techniques such as taking in or letting out seams, adjusting hems, and altering the fit of the garment to better suit the wearer. This requires a good understanding of garment construction and body measurements.
2. Creating your own patterns: If you’re feeling particularly creative, you can design and create your own patterns to make one-of-a-kind garments. This involves drafting a pattern from scratch or modifying an existing pattern to fit your specifications.
3. Embroidery: Adding embroidery to a garment or accessory can take it to the next level. Advanced techniques such as satin stitching, French knots, and applique can be used to create intricate designs.
4. Leatherworking: If you’re interested in working with leather, there are many advanced sewing techniques you can use to create everything from bags to jackets. You’ll need specialized tools and materials, but the end result can be truly stunning.
5. Quilting: Quilting involves piecing together fabric to create a larger design, which is then typically used to make a blanket or other home decor item. Advanced quilters can create intricate designs using techniques such as paper piecing, applique, and free-motion quilting.
No matter what project you choose, it’s important to continue learning and honing your skills. Attend workshops, read books and blogs, and practice regularly to continue improving your sewing abilities.
Tags: basic, button, DIY, fabric, fix, hand-sewing, hemming, hereare20keywordsyoucanuseforyourmetakeywordstag:sewing, howto, machine, mend, mending, needle, patching, repairs, rip, seam, Sure, tailor, tear, thread
Tweet