Suds up your life: DIY soap making tutorial
Making homemade soap can be a fun and rewarding activity. It allows you to create a personalized product that suits your preferences and needs. Before we dive into the steps of making soap, let’s first understand what soap is and the ingredients used.
Soap is a chemical compound made up of molecules that have a hydrophilic (water-loving) head and a hydrophobic (water-hating) tail. These molecules help to lift dirt and grime from your skin or any surface and wash it away with water.
To make soap, you will need the following ingredients:
1. Oils or fats: These are the base of your soap and help to create the lather. You can use any type of oil or fat, such as olive oil, coconut oil, palm oil, or shea butter.
2. Lye: This is a caustic substance that reacts with the oils to create soap. It’s important to handle lye with care and follow safety guidelines.
3. Water: Water is used to dissolve the lye and help it react with the oils.
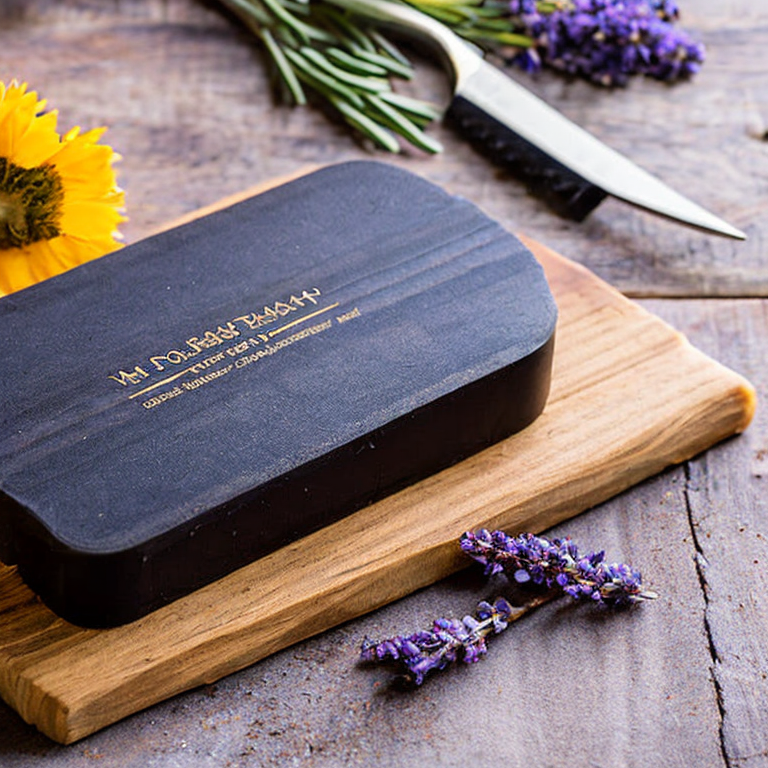
4. Essential oils or fragrance oils: These are used to add scent to your soap and can be customized to suit your preferences.
5. Colorants: These are used to add color to your soap and can be natural or synthetic.
Now that we have our ingredients let’s move on to the steps involved in making soap.
Step 1: Prepare the workspace
Before you start making soap, it’s important to prepare your workspace. You will need a well-ventilated area with a heat source, a pot for melting oils, a bowl for mixing lye and water, a mold for shaping the soap, and safety gear such as gloves, goggles, and a face mask.
Step 2: Measure ingredients
Measure out the oils and fats you want to use and melt them in a pot over low heat. While the oils are melting, measure out the water and lye separately in separate containers. Be sure to use an accurate scale to measure the lye.
Step 3: Mix lye and water
Slowly pour the lye into the water while stirring constantly. This mixture will get hot, so it’s important to handle it with care and not inhale the fumes. Mix until the lye is completely dissolved in the water.
Step 4: Combine oils and lye mixture
Once the oils have melted and the lye mixture has cooled down to room temperature, slowly pour the lye mixture into the pot with the oils while stirring constantly. Continue stirring until the mixture reaches a thick, pudding-like consistency known as “trace.”
Step 5: Add fragrance and color
At this point, you can add fragrance oils and colorants to the mixture. Stir until everything is evenly blended.
Step 6: Pour into molds
Pour the mixture into molds and smooth out the top. Cover the molds with a towel or lid and let them sit for 24-48 hours to harden.
Step 7: Cut and cure
Once the soap has hardened, remove it from the mold and cut it into bars. Place the bars on a rack to cure for 4-6 weeks. During this time, the soap will continue to harden and any excess water will evaporate.
Congratulations! You have just made your own homemade soap. Now that you know the basic steps, feel free to experiment with different oils, fragrances, and colors to create your own unique soap recipes. Just remember to always follow safety guidelines when working with lye and handle it with care.
Suds and Struggles: The Realities of DIY Soap Making
Making homemade soap can be a fun and rewarding activity, but it can also come with some challenges. Here are some of the most common and uncommon issues that you may encounter when making homemade soap, along with some tips and advice to help you overcome them:
1. Uneven coloring: If your soap turns out with uneven coloring, it may be due to not mixing the colorant thoroughly or not using enough colorant. To avoid this issue, make sure to mix your colorant well and use the recommended amount.
2. Separation: Separation can occur if your soap mixture is not blended well enough or if you add ingredients at the wrong temperature. To avoid this issue, make sure to blend your soap mixture thoroughly and add ingredients at the recommended temperature.
3. Soft or sticky soap: If your soap turns out too soft or sticky, it may be due to not allowing it to cure long enough or not using enough lye. To avoid this issue, make sure to follow the curing instructions carefully and use the recommended amount of lye.
4. Cracking: Cracking can occur if your soap mixture is too dry or if it cools too quickly. To avoid this issue, make sure to keep your soap mixture moist and at the recommended temperature.
5. Fragrance fading: Fragrance can fade over time, especially if you use too little or if it is not mixed in well. To avoid this issue, make sure to use the recommended amount of fragrance and mix it in thoroughly.
6. Lye burns: Lye can be dangerous if not handled properly, so it’s important to wear protective gear and follow safety instructions carefully. If you do get lye on your skin, rinse it off immediately with water and seek medical attention if necessary.
7. Missed trace: Missed trace can occur if you don’t mix your soap mixture long enough, which can result in an uneven texture. To avoid this issue, make sure to mix your soap mixture thoroughly and follow the recommended mixing time.
8. Soap seizing: Soap can seize if you add ingredients too quickly or if your soap mixture is too hot. To avoid this issue, make sure to add ingredients slowly and at the recommended temperature.
In conclusion, making homemade soap can be a fun and rewarding activity, but it’s important to follow safety instructions carefully and pay attention to details to avoid common issues. With the right techniques and ingredients, you can create beautiful and high-quality soap that you can be proud of.
Craft Cleanliness: Mastering the Art of Homemade Soap
If you’re an advanced user who is already an expert at making homemade soap, there are many other DIY projects that you can experiment with. Here are a few ideas:
1. Lip balms and salves: Once you’ve mastered soap making, you can try your hand at making lip balms, salves, and other skin care products. You’ll need to source ingredients like beeswax, shea butter, and carrier oils, and experiment with different recipes to achieve the perfect consistency and fragrance.
2. Candles: Homemade candles are a great way to add a cozy, personalized touch to your home decor or give as gifts. You’ll need to purchase wax, wicks, and fragrance oils, as well as containers or molds to shape your candles.
3. Bath bombs: Bath bombs are a fun and luxurious addition to any bath. They’re made with baking soda, citric acid, and essential oils, and can be customized with colors, glitter, and dried flowers or herbs.
4. Room sprays: If you’re looking for a quick and easy project, try making your own room sprays. You’ll need a spray bottle, distilled water, and essential oils of your choice. These sprays can be used to freshen up any room in your home.
When trying out these projects, it’s important to remember that safety is key. Always wear protective gear like gloves, goggles, and a mask when working with ingredients like lye or essential oils, and be sure to follow recipes carefully to avoid any accidents. Additionally, make sure to properly store and label your finished products to prevent any confusion or accidents in the future.
Tags: coldprocesssoap, DIYsoap, essentialoils, handmadesoap, herearesomekeywordsyoucoulduseforyourhomemadesoapblogpost:homemadesoap, naturalsoap, organicsoap, soapbars, soapbase, soapcolorants, soapcuring, soapcutter, soapfragrance, soapingredients, soapmaking, soapmolds, soappackaging., soaprecipe, Sure
Tweet