Transform Your Food Scraps into Nutrient-Rich Soil with This DIY Bin
Sure, I’d be happy to help you become an expert on making a worm compost bin!
First, let’s start with the basics. A worm compost bin is a container that holds composting worms and their waste, which is known as worm castings. Worm castings are a nutrient-rich fertilizer that can be used to improve soil health and plant growth.
To make a worm compost bin, you’ll need a few basic supplies. Here’s what you’ll need:
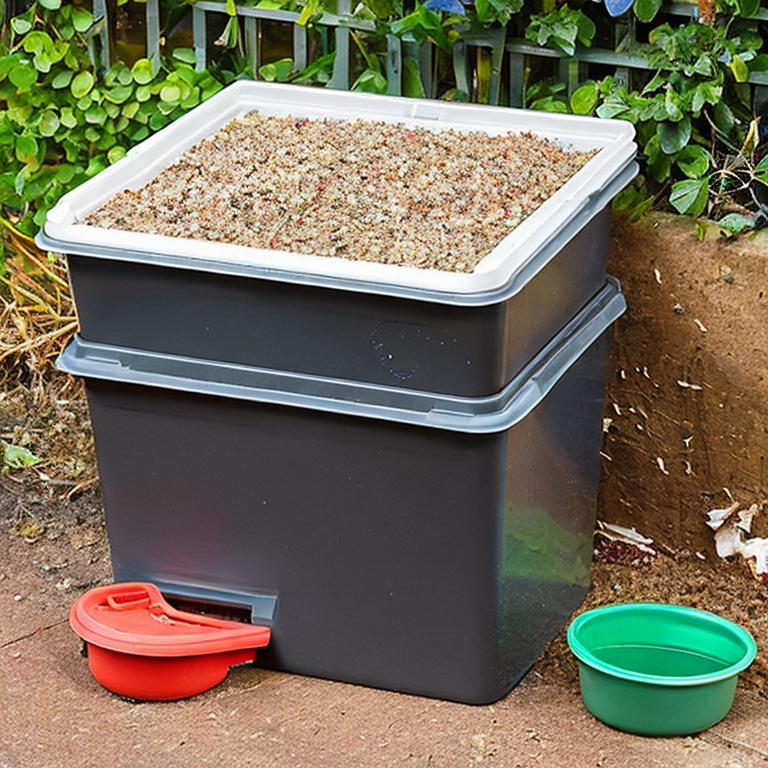
– A container: You can use a plastic bin or a wooden box as a container for your worm compost bin. The container should be at least 8-12 inches deep and have a lid to keep out pests.
– Bedding material: This is the material that the worms will live in and eat. You can use shredded newspaper, coconut coir, peat moss, or any other organic material that is not too dense.
– Composting worms: You’ll need to purchase composting worms, also known as red wrigglers, from a local gardening store or online. You’ll need about 1 pound of worms for every square foot of surface area in your bin.
– Food scraps: Worms eat food scraps, so you’ll need to provide them with a steady supply of kitchen scraps such as fruit and vegetable peels, coffee grounds, and eggshells.
Now that you have your supplies, it’s time to assemble your worm compost bin. Here’s how to do it:
1. Prepare the bedding material: Soak the bedding material in water until it is damp but not dripping wet.
2. Add the bedding material to the container: Fill the container with the bedding material until it is about 2/3 full.
3. Add the worms: Gently place the worms on top of the bedding material. They will burrow into the bedding material on their own.
4. Add food scraps: Add a handful of food scraps to the bin, burying them under the bedding material. As the worms eat the food scraps, they will produce worm castings.
5. Maintain the bin: Keep the bedding material damp, but not too wet, by spraying it with water as needed. Add food scraps regularly, but don’t overfeed the worms.
6. Harvest the worm castings: After a few months, the worm castings will accumulate in the bin. To harvest them, simply move the bedding material to one side of the bin and scoop out the castings from the other side.
That’s it! You now have a worm compost bin and can start producing nutrient-rich worm castings for your garden. Happy composting!
Transform Your Waste: Avoid These Worm Composting Mistakes
Worm composting, also known as vermicomposting, is a great way to reduce household waste and create nutrient-rich soil for plants. When creating a worm compost bin, there are several common and uncommon issues that may arise. Here are a few and their solutions, tips, and advice:
1. Foul odors: If your worm compost bin smells bad, it’s likely due to overfeeding or poor ventilation. To solve this issue, reduce the amount of food you’re adding to the bin and make sure it’s well-ventilated. You can also add a layer of dry bedding material like shredded newspaper or leaves to absorb excess moisture.
2. Fruit flies or other pests: If fruit flies or other pests are taking up residence in your worm compost bin, it’s likely due to overfeeding or poor drainage. To solve this issue, reduce the amount of food you’re adding to the bin and make sure there is adequate drainage. You can also add a layer of dry bedding material to absorb excess moisture.
3. Worms escaping: If your worms are trying to escape, it’s likely due to poor conditions in the bin such as too much moisture or too little food. To solve this issue, make sure the bin is well-ventilated and not too wet. You can also add more food and bedding material to create a more hospitable environment for your worms.
4. Slow composting: If your compost is taking longer than expected to break down, it’s likely due to a lack of diversity in the food you’re adding to the bin. To solve this issue, try adding a variety of food scraps and avoid adding too much of any one type of waste. You can also try shredding or chopping up your food scraps before adding them to the bin to speed up the composting process.
5. Unpleasant surprises: Sometimes unexpected items like plastic or metal can end up in your worm compost bin. To avoid this, be sure to only add organic materials like fruit and vegetable scraps, eggshells, and coffee grounds. If you do find any non-organic materials in your compost, remove them immediately.
Overall, worm composting can be a rewarding and sustainable way to reduce household waste and create nutrient-rich soil for your plants. By following these tips and troubleshooting any issues that arise, you can create a healthy and productive worm compost bin.
Transform Your Scraps into Gold: Master the Worm Compost Bin
If you’re already an expert in making a worm compost bin, there are several other projects you can take on to further improve your composting skills. Here are a few ideas:
1. Build a larger composting system: If you find that your worm compost bin isn’t producing enough compost for your needs, consider building a larger composting system. You could build a traditional outdoor compost bin, or even a larger worm compost bin using a plastic storage container or wooden box.
2. Harvest worm castings: Worm castings are one of the richest and most nutrient-dense forms of compost you can produce. Once your bin is established and the worms have had time to digest the bedding and food scraps, you can start harvesting the castings. To do this, simply remove the top layer of compost from the bin and set it aside. Then, take a scoop or two of the lower layers of compost (where the worms have been working) and sift it through a fine mesh screen. The resulting worm castings can be used as a soil amendment for your plants.
3. Experiment with different types of food scraps: While most food scraps are safe to feed to your worms, some may be more attractive to them than others. For example, worms tend to love coffee grounds, eggshells, and fruit and vegetable scraps. Try experimenting with different types of food to see what your worms like best.
4. Start a vermicomposting business: If you have a passion for composting and want to take things to the next level, consider starting a vermicomposting business. You could sell your worm castings to local gardeners, or even offer composting services to restaurants and other businesses.
No matter what project you choose, remember to always keep an eye on your worms and make sure they have the right conditions to thrive. Happy composting!
Tags: backyardcomposting, composting, compostingathome, compostingwithworms, DIY, eco-friendly, environmentalism, gardeningtips, greenliving, naturalfertilizer., nutrient-richsoil, organicgardening, recycling, redwigglerworms, soilhealth, sustainability, urbangardening, vermicomposting, wastereduction, wormcompostbin
Tweet