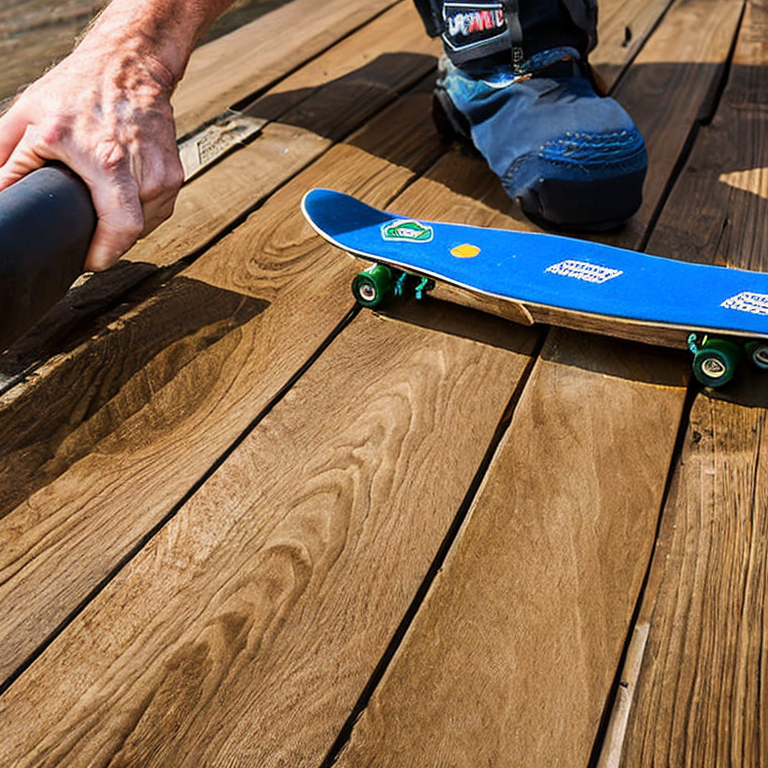
Skateboarding DIY: Craft Your Own Board Today!
Sure, I would be happy to explain the process of making a skateboard from scratch.
First, let’s start with a list of materials and tools that you will need to make a skateboard:
Materials:
– Plywood (7 layers of maple wood veneer)
– Grip tape
– Trucks
– Wheels
– Bearings
– Hardware (screws and nuts)
Tools:
– Jigsaw or bandsaw
– Router
– Sandpaper
– Drill
– Screwdriver
– Razor blade
Step 1: Design your skateboard
Before you start making your skateboard, it’s important to have a design in mind. You can sketch the design on a piece of paper or use a design software to create a digital version. The design should include the shape and size of the skateboard.
Step 2: Cut the plywood
Take the plywood and cut it into the shape and size that you want. You can use a jigsaw or a bandsaw to cut the plywood. Make sure to wear safety goggles and work in a well-ventilated area. You should also sand the edges of the board to smooth them out.
Step 3: Shape the board
If you want to add some style to your skateboard, you can use a router to shape the edges of the board. This step is optional, but it can make your skateboard look more unique.
Step 4: Apply grip tape
Take the grip tape and apply it to the top of the board. Make sure to line up the grip tape with the edges of the board. Use a razor blade to trim the edges of the grip tape. You can also use a screwdriver to poke holes in the grip tape where the screws will go.
Step 5: Install trucks
Take the trucks and place them on the bottom of the board. The trucks should be centered and aligned with the length of the board. Use a drill to make holes where the screws will go. Then, attach the trucks to the board with screws and nuts.
Step 6: Add wheels and bearings
Take the wheels and bearings and install them onto the trucks. Make sure the bearings are properly seated in the middle of the wheel. Then, attach the wheels to the trucks with nuts.
Step 7: Tighten hardware
Use a screwdriver to tighten all of the hardware (screws and nuts) on the skateboard. Make sure everything is secure before riding the skateboard.
Congratulations! You have successfully made a skateboard from scratch. Now, it’s time to hit the streets and show off your new ride.
Skateboard Building: Avoiding the Bumps and Bruises
When making a skateboard, there are a few common and uncommon issues that you may encounter. Here are some of the most common ones and tips on how to solve them:
1. Board shape issues: If the board is not symmetrical, it may cause instability and make it difficult to ride. To solve this, check the measurements and use a template to ensure that the board shape is symmetrical.
2. Board warp: Over time, the board may warp due to weather conditions or improper storage. To prevent this, store the board in a dry place and avoid exposing it to extreme temperatures.
3. Grip tape bubbles: Bubbles may form under the grip tape, making it difficult to ride. To prevent this, make sure that the surface is clean and dry before applying the grip tape. Use a hairdryer to heat the tape and smooth it out.
4. Loose trucks: If the trucks are too loose, the board may wobble or be difficult to control. To tighten the trucks, use a skate tool and adjust the kingpin nut until it is snug.
5. Wheel bite: If the wheels are too large, they may rub against the board, causing the rider to lose control. To prevent this, use smaller wheels or add riser pads between the trucks and the board.
Some uncommon issues that may arise when making a skateboard include:
1. Delamination: If the layers of the board separate, it may weaken the structure and make it unsafe to ride. To prevent this, use high-quality materials and glue each layer together properly.
2. Wheel wobble: If the wheels are not aligned properly, they may wobble, causing the rider to lose control. To solve this, use a wheel alignment tool to ensure that the wheels are aligned correctly.
3. Board cracking: If the board is subjected to too much pressure or impact, it may crack. To prevent this, avoid using the board for extreme tricks or jumps, and choose a board with a higher weight capacity if necessary.
In summary, making a skateboard can be a fun and rewarding experience, but it’s important to pay attention to details and take the necessary precautions to ensure safety and performance. If you encounter any issues, don’t hesitate to seek advice from experienced skateboarders or professionals.
Shred in Style: Crafting the Ultimate Custom Skateboard
If the reader already knows how to make a skateboard, there are many other projects that they can explore. Here are a few advanced skateboard-related projects that they might be interested in:
1. Longboard: A longboard is a longer version of a skateboard that is typically used for cruising or downhill riding. To make a longboard, the reader will need to select a longer deck, wider trucks, and larger wheels. They can also experiment with different shapes and styles to create a customized longboard that suits their riding style.
2. Electric Skateboard: An electric skateboard is a motorized skateboard that can be controlled with a remote. To make an electric skateboard, the reader will need to purchase a motor, battery, and ESC (Electronic Speed Controller) and install them onto their skateboard deck. They will also need to program the ESC with the appropriate settings to ensure that the motor runs smoothly.
3. Skateboard Ramp: A skateboard ramp is a structure that skateboarders use to perform tricks and maneuvers. To make a skateboard ramp, the reader will need to design a ramp that suits their needs and specifications, and purchase the necessary materials such as wood, screws, and metal coping. They will also need to have a good understanding of carpentry and construction in order to build the ramp safely and securely.
4. Skateboard Art: Skateboard art is a popular form of expression among skateboarders. Expert skateboard makers can experiment with different painting techniques and materials to create unique and personalized skateboard designs. They can also collaborate with other artists to create custom graphics and designs that can be printed onto skateboard decks.
For advanced skateboard makers, my advice would be to continue to experiment and push their creative boundaries. They can try different materials, techniques, and styles to create truly unique skateboards and skateboard-related projects. It’s also important to stay up-to-date with the latest trends and innovations in the skateboarding world, and to network with other skateboard makers and enthusiasts to share ideas and inspiration.
Tags: DIYskateboard, skateboard, skateboardart, skateboardassembly, skateboardbearings, skateboardbuilding, skateboardcommunity, skateboardcrafting, skateboardculture, skateboardcustomization, skateboarddeck, skateboarddesign, skateboardgriptape, skateboardhardware, skateboardlifestyle., skateboardmaintenance, skateboardparts, skateboardtools, skateboardtrucks, skateboardwheels
Tweet